Snapmaker shot to prominence with their three-in-one machines. While the J1 3D printer is a departure from the usual theme, the company has just launched the huge Artisan three-in-one.
It doesn't take long to understand Snapmaker thought process for the J1. Make a dual extrusion 3D printer with the same ease of use as their three-in-one machines and make it better than anything else at a similar price.
The issue for Snapmaker is that while they have managed this with one of the most impressive-looking and reliable machines to date, many other manufacturers are also upping the game.
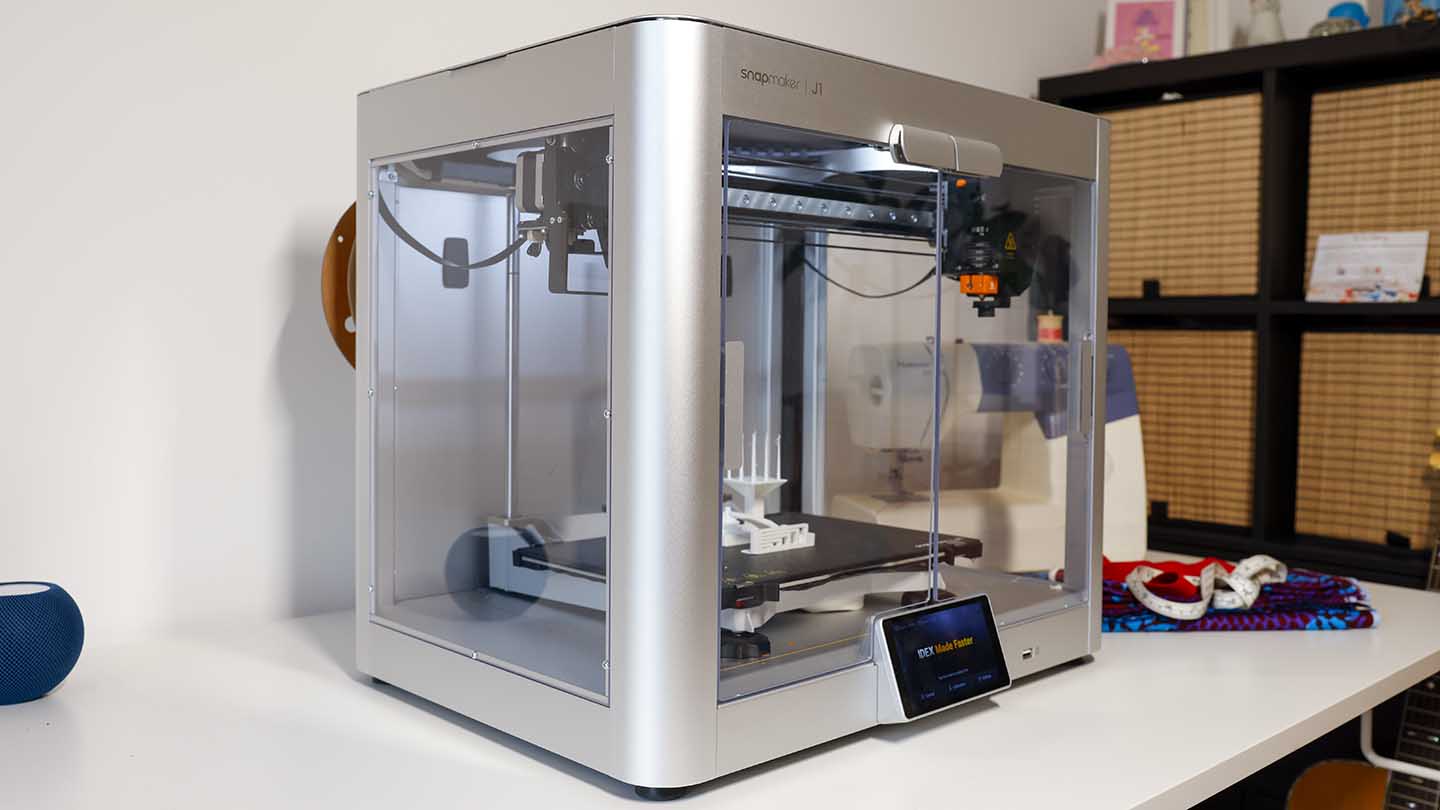
At present, however, the J1 stands alone; it is more expensive than the mainstream but stands out with its fully enclosed case, IDEX dual extrusion, ease of use, and stunning design. Essentially Snapmaker has looked at what people who 3D print want at the mid to top end of the enthusiast going into professional level and designed it.
This is the 3D printer you want if you take 3D printing seriously; it is a proper workshop tool to help you make an end product reliably, not one to be constantly tinkered with and improved.
Design
The big difference with the Snapmaker J1 over many other dual extrusion 3D printers at this price is that it is a true IDEX; essentially, the two heads can move independently. In real terms, the two heads are mounted on the same horizontal bar, so they're not 100% independent, but still, the advantage that it gives to a single head with two nozzles is colossal.
The J1 is also an enclosed system, meaning the tool heads and mechanics are all encased in a beautiful outer shell. This case is an integral part of the design rather than an add-on, which gives the machine a professional look.
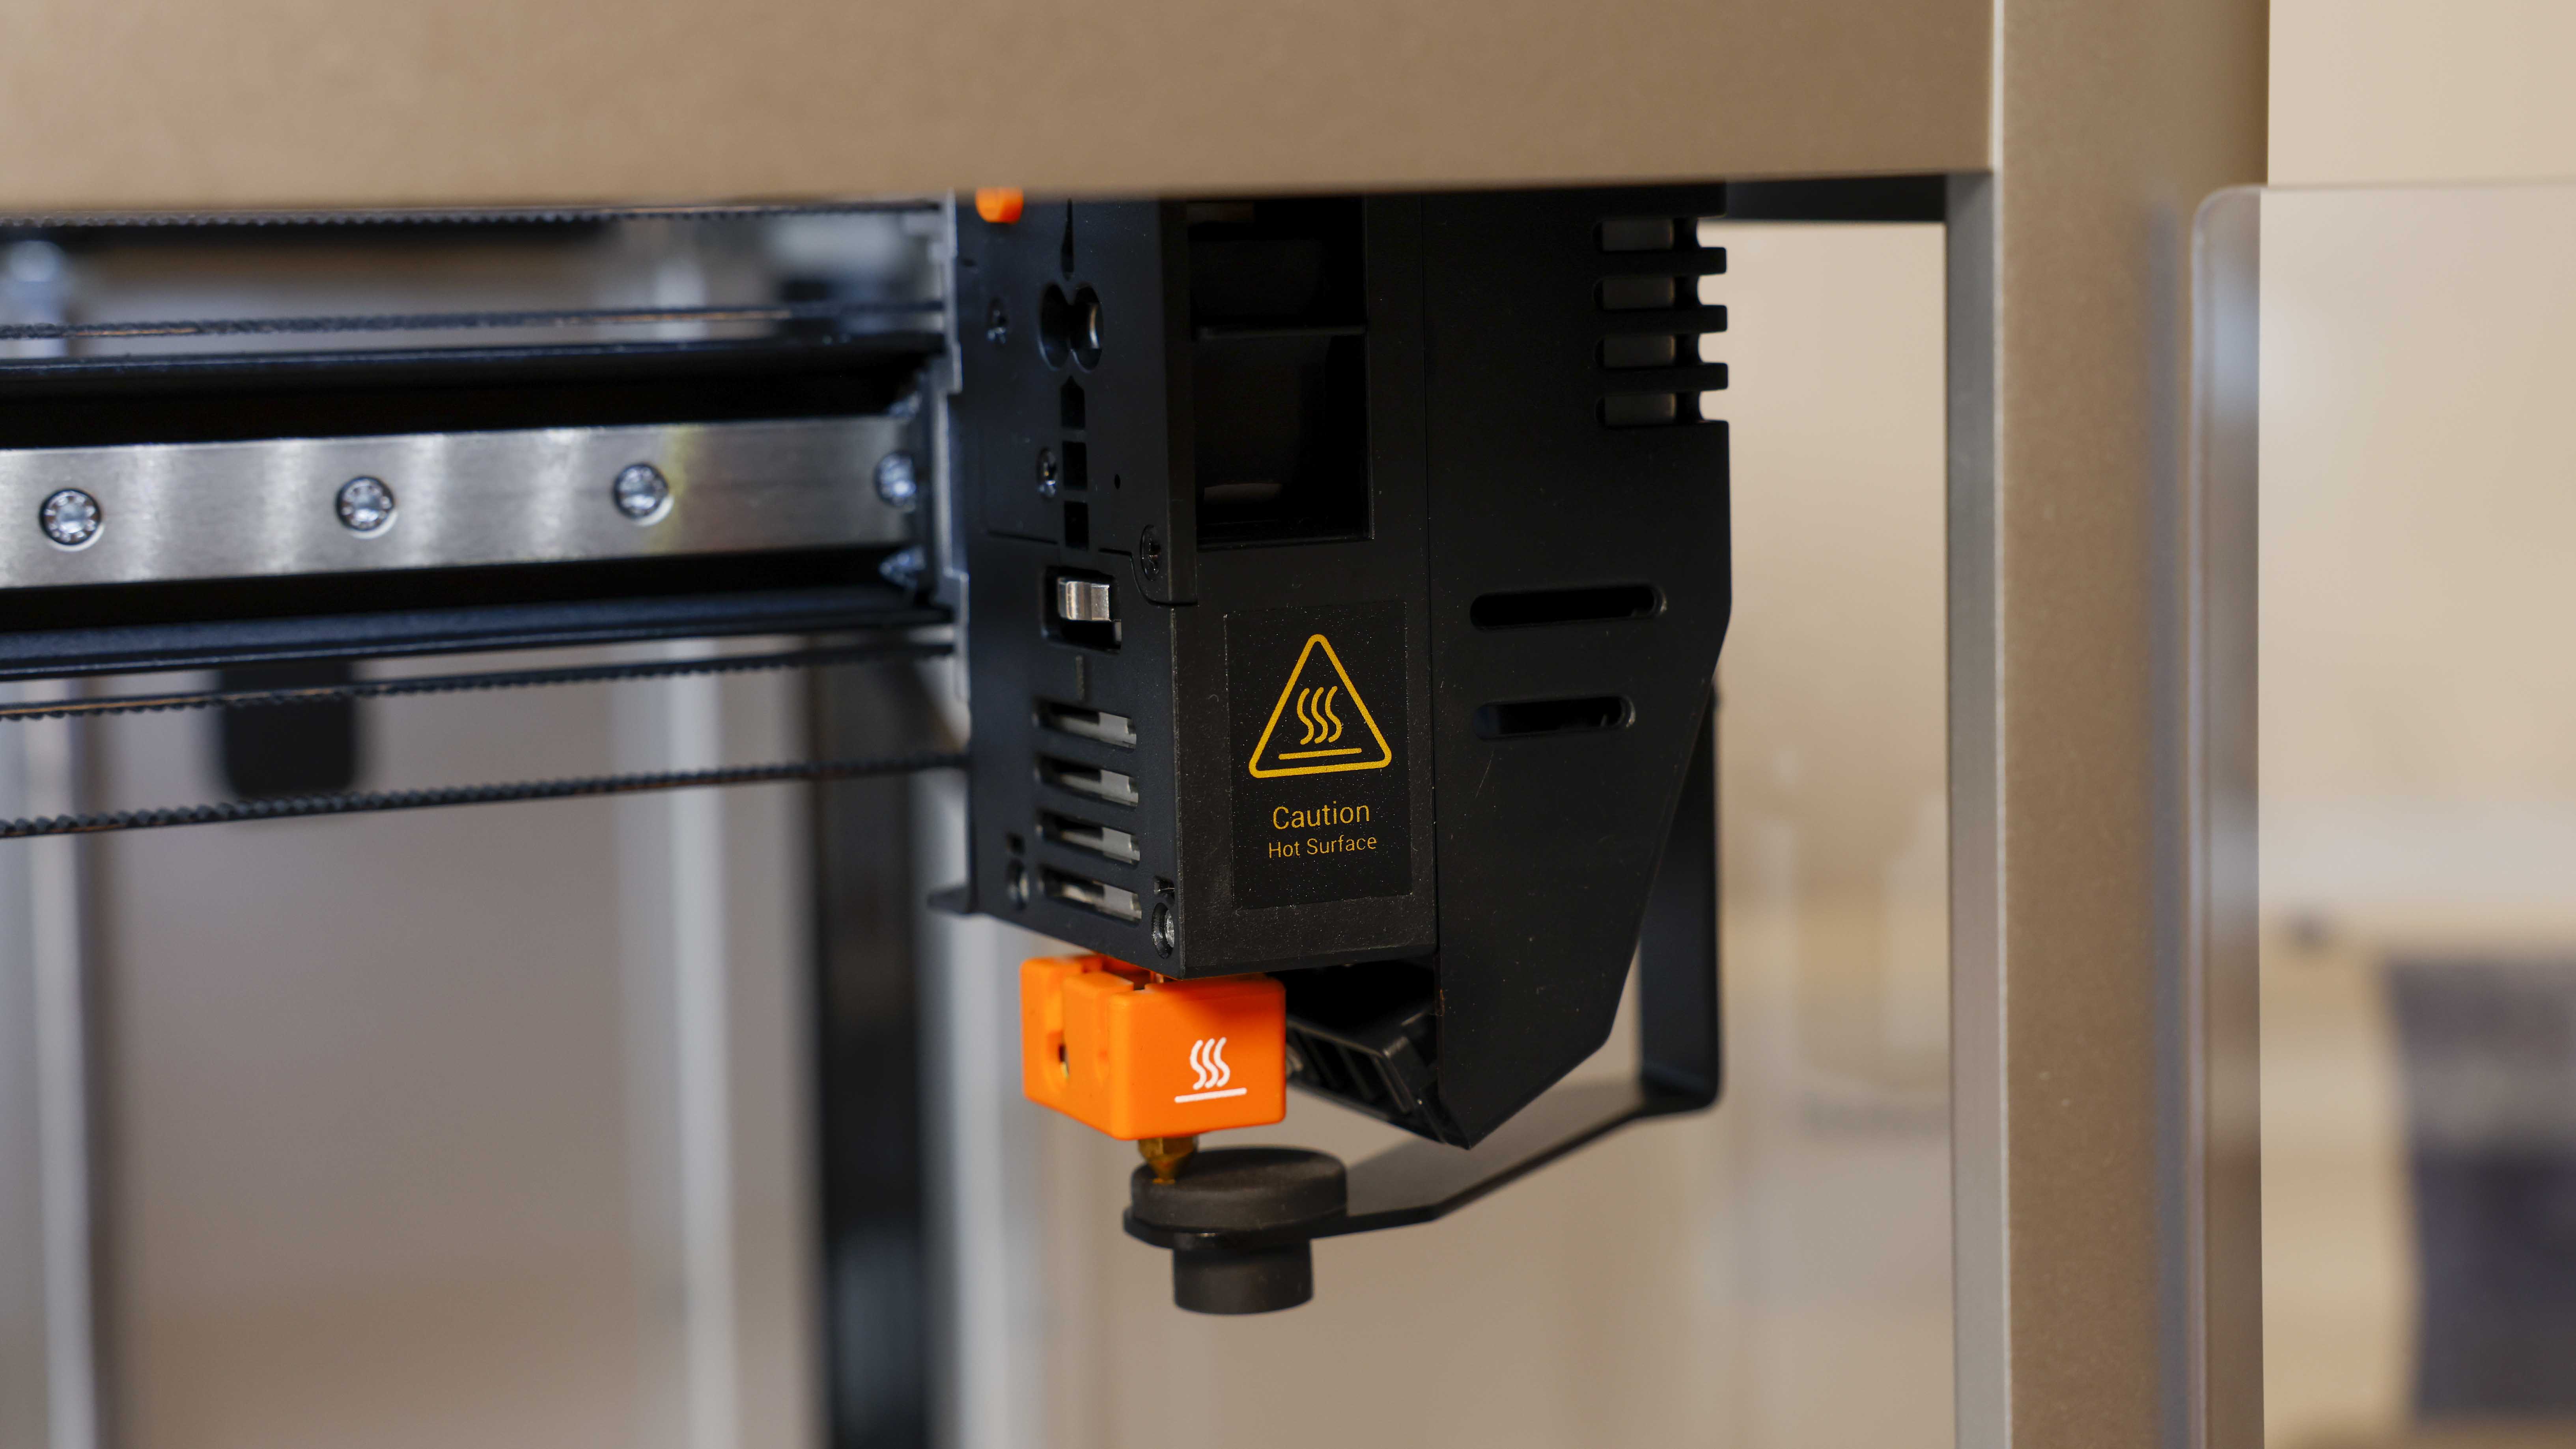
At the front, there are two clear doors so you can see the print as it is built, and the top is easily removed to give you a top view. This ease of opening up the case is required when printing materials such as PLA, but for more advanced materials such as ABS, the enclosed nature of the machine means that there is far less likelihood of model warping and other 3D print issues.
Build Volume: 250x220x220
Memory: SD Cards
Nozzle size: 0.4mm
Layer Height: 50 - 300 μm
Bed: Sprung Steel
Print Surface: textured
Software: Cura
Materials: PLA, ABS, PETG
Included material: None
Machine dimensions: 490x445x443mm
Machine weight: 7kg
Power: 240v
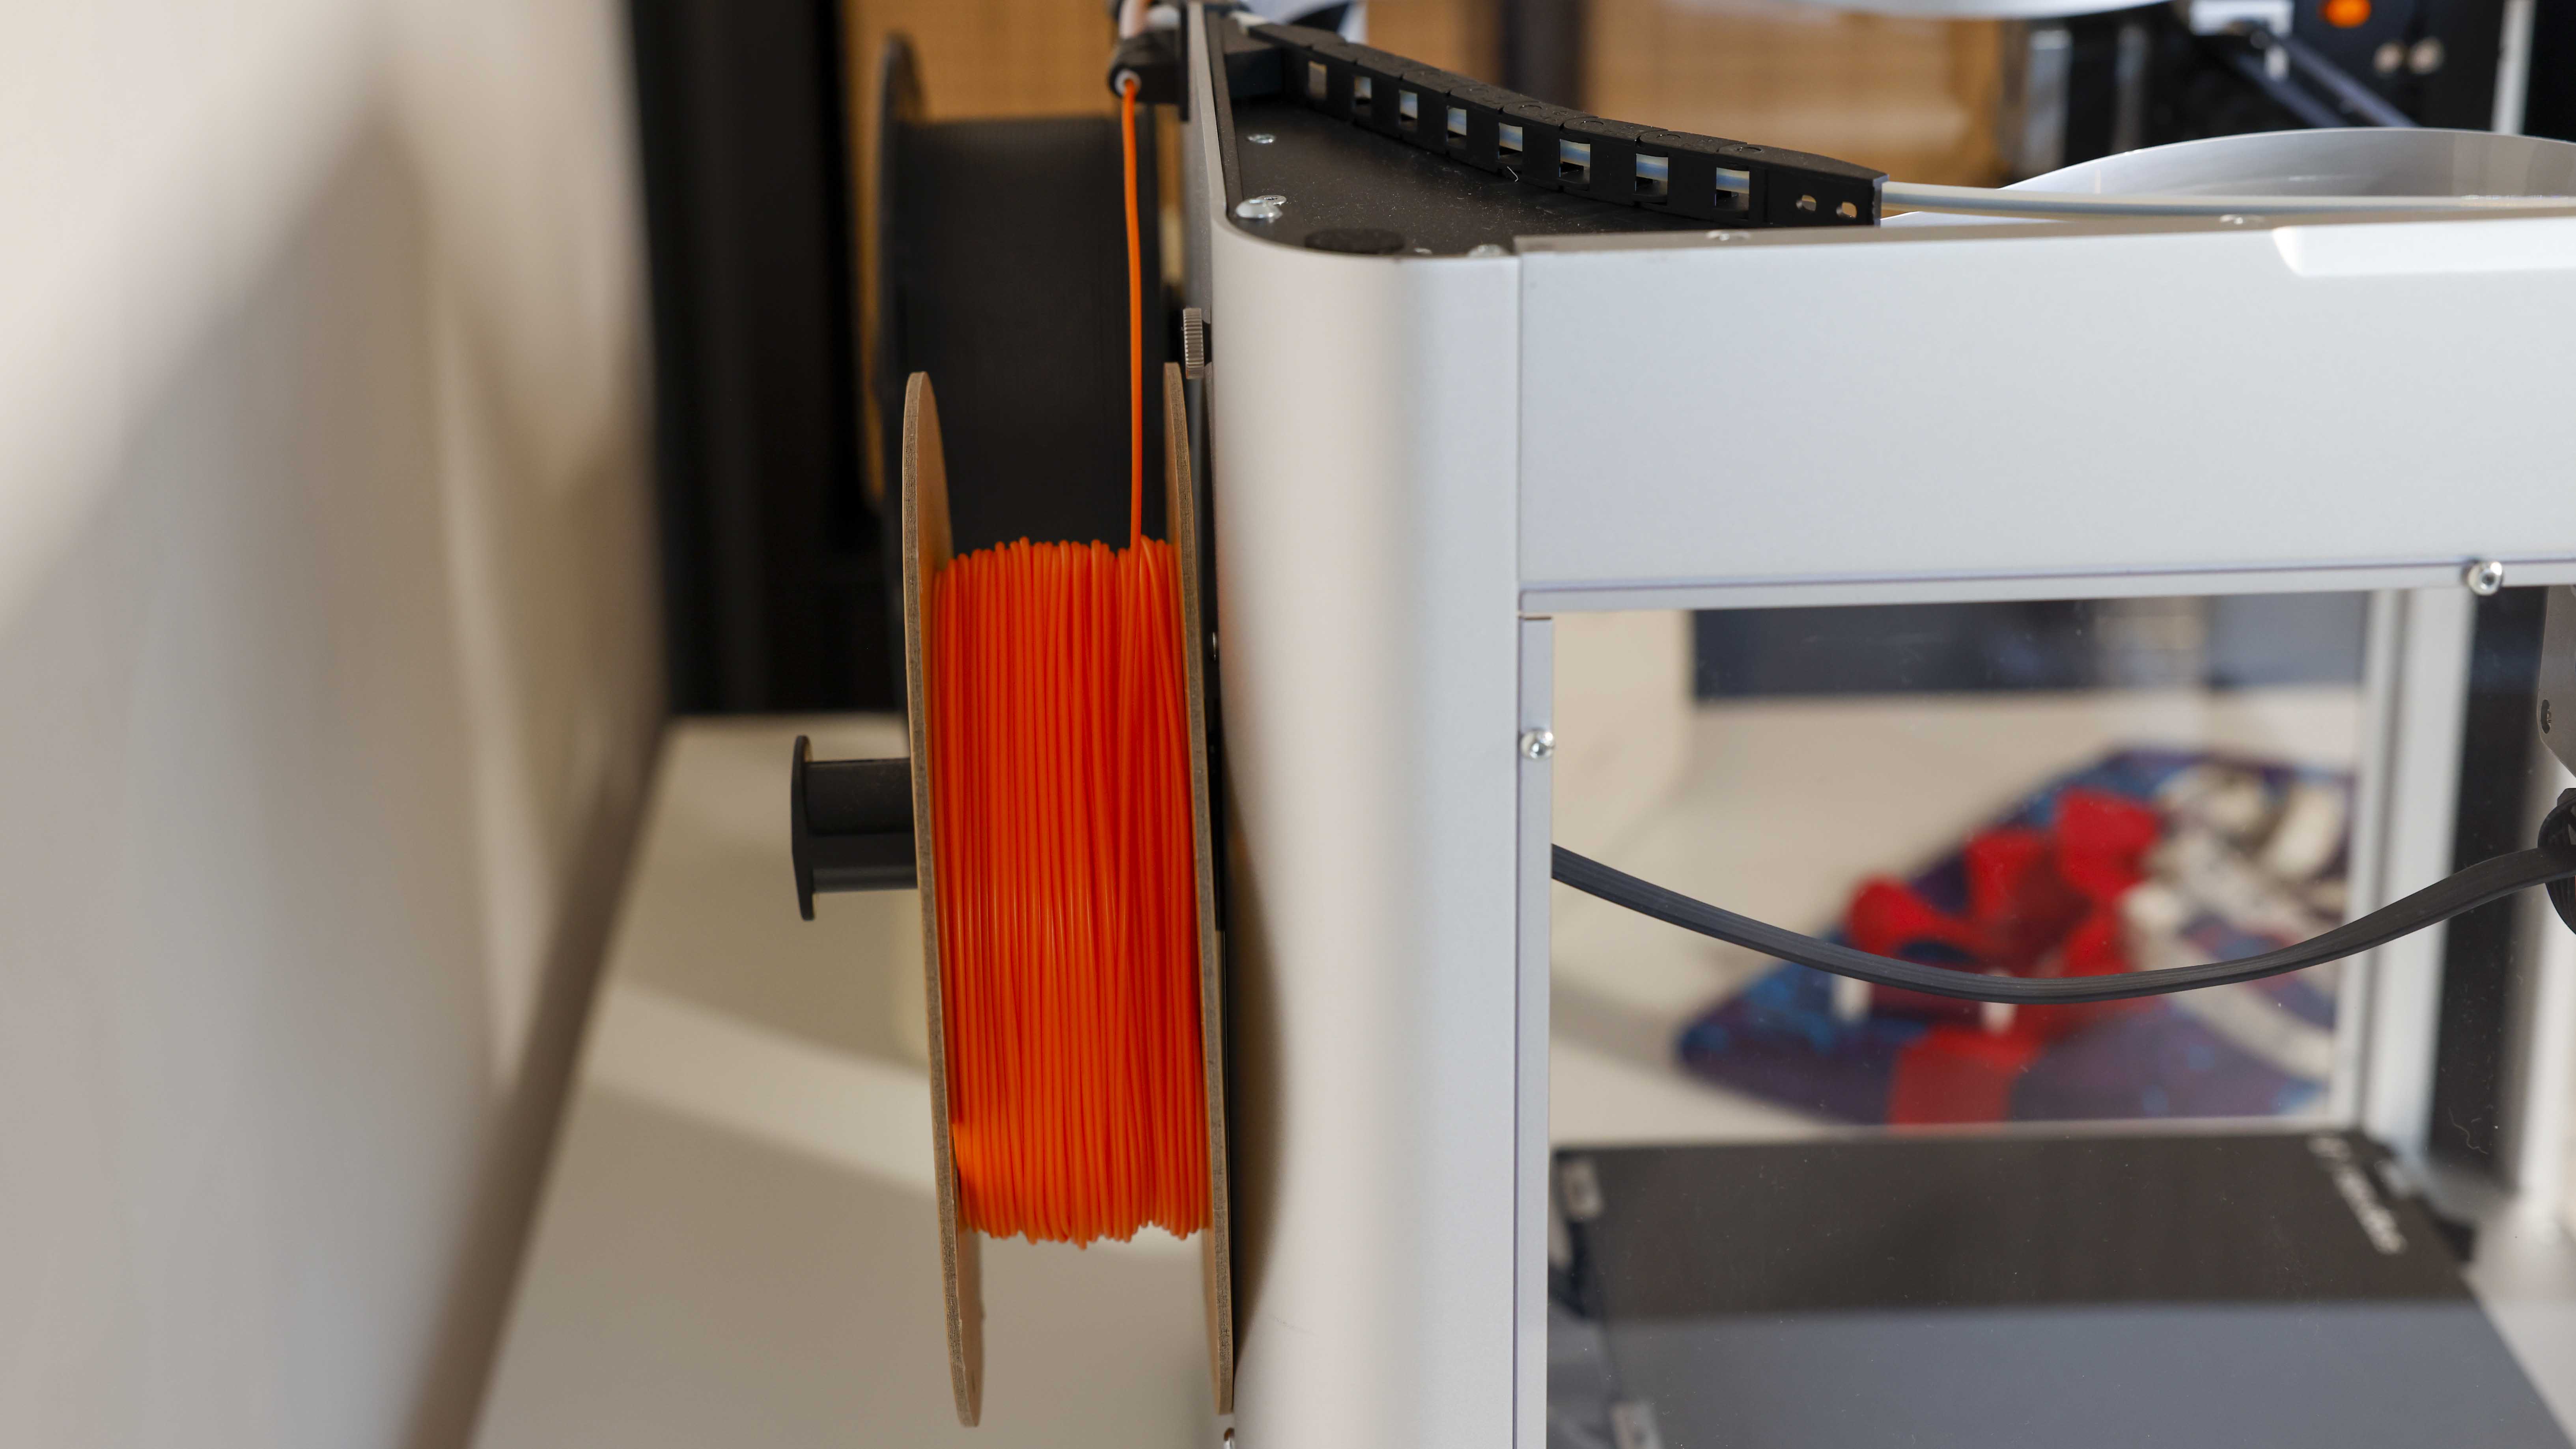
The Reels are held at the back of the machine; this works well and keeps things convenient when you need to swap out filaments.
One surprise is that the print platform is textured glass rather than sprung steel.
Models for the J1 are all loaded in through the Luban software; once again, this is a complete Wireless offering which makes things very easy. Load your files into Luban, adjust the settings, and send them to the printer wirelessly. If you want to do things a little more manually, then you can export the file and transfer using a USB key instead.
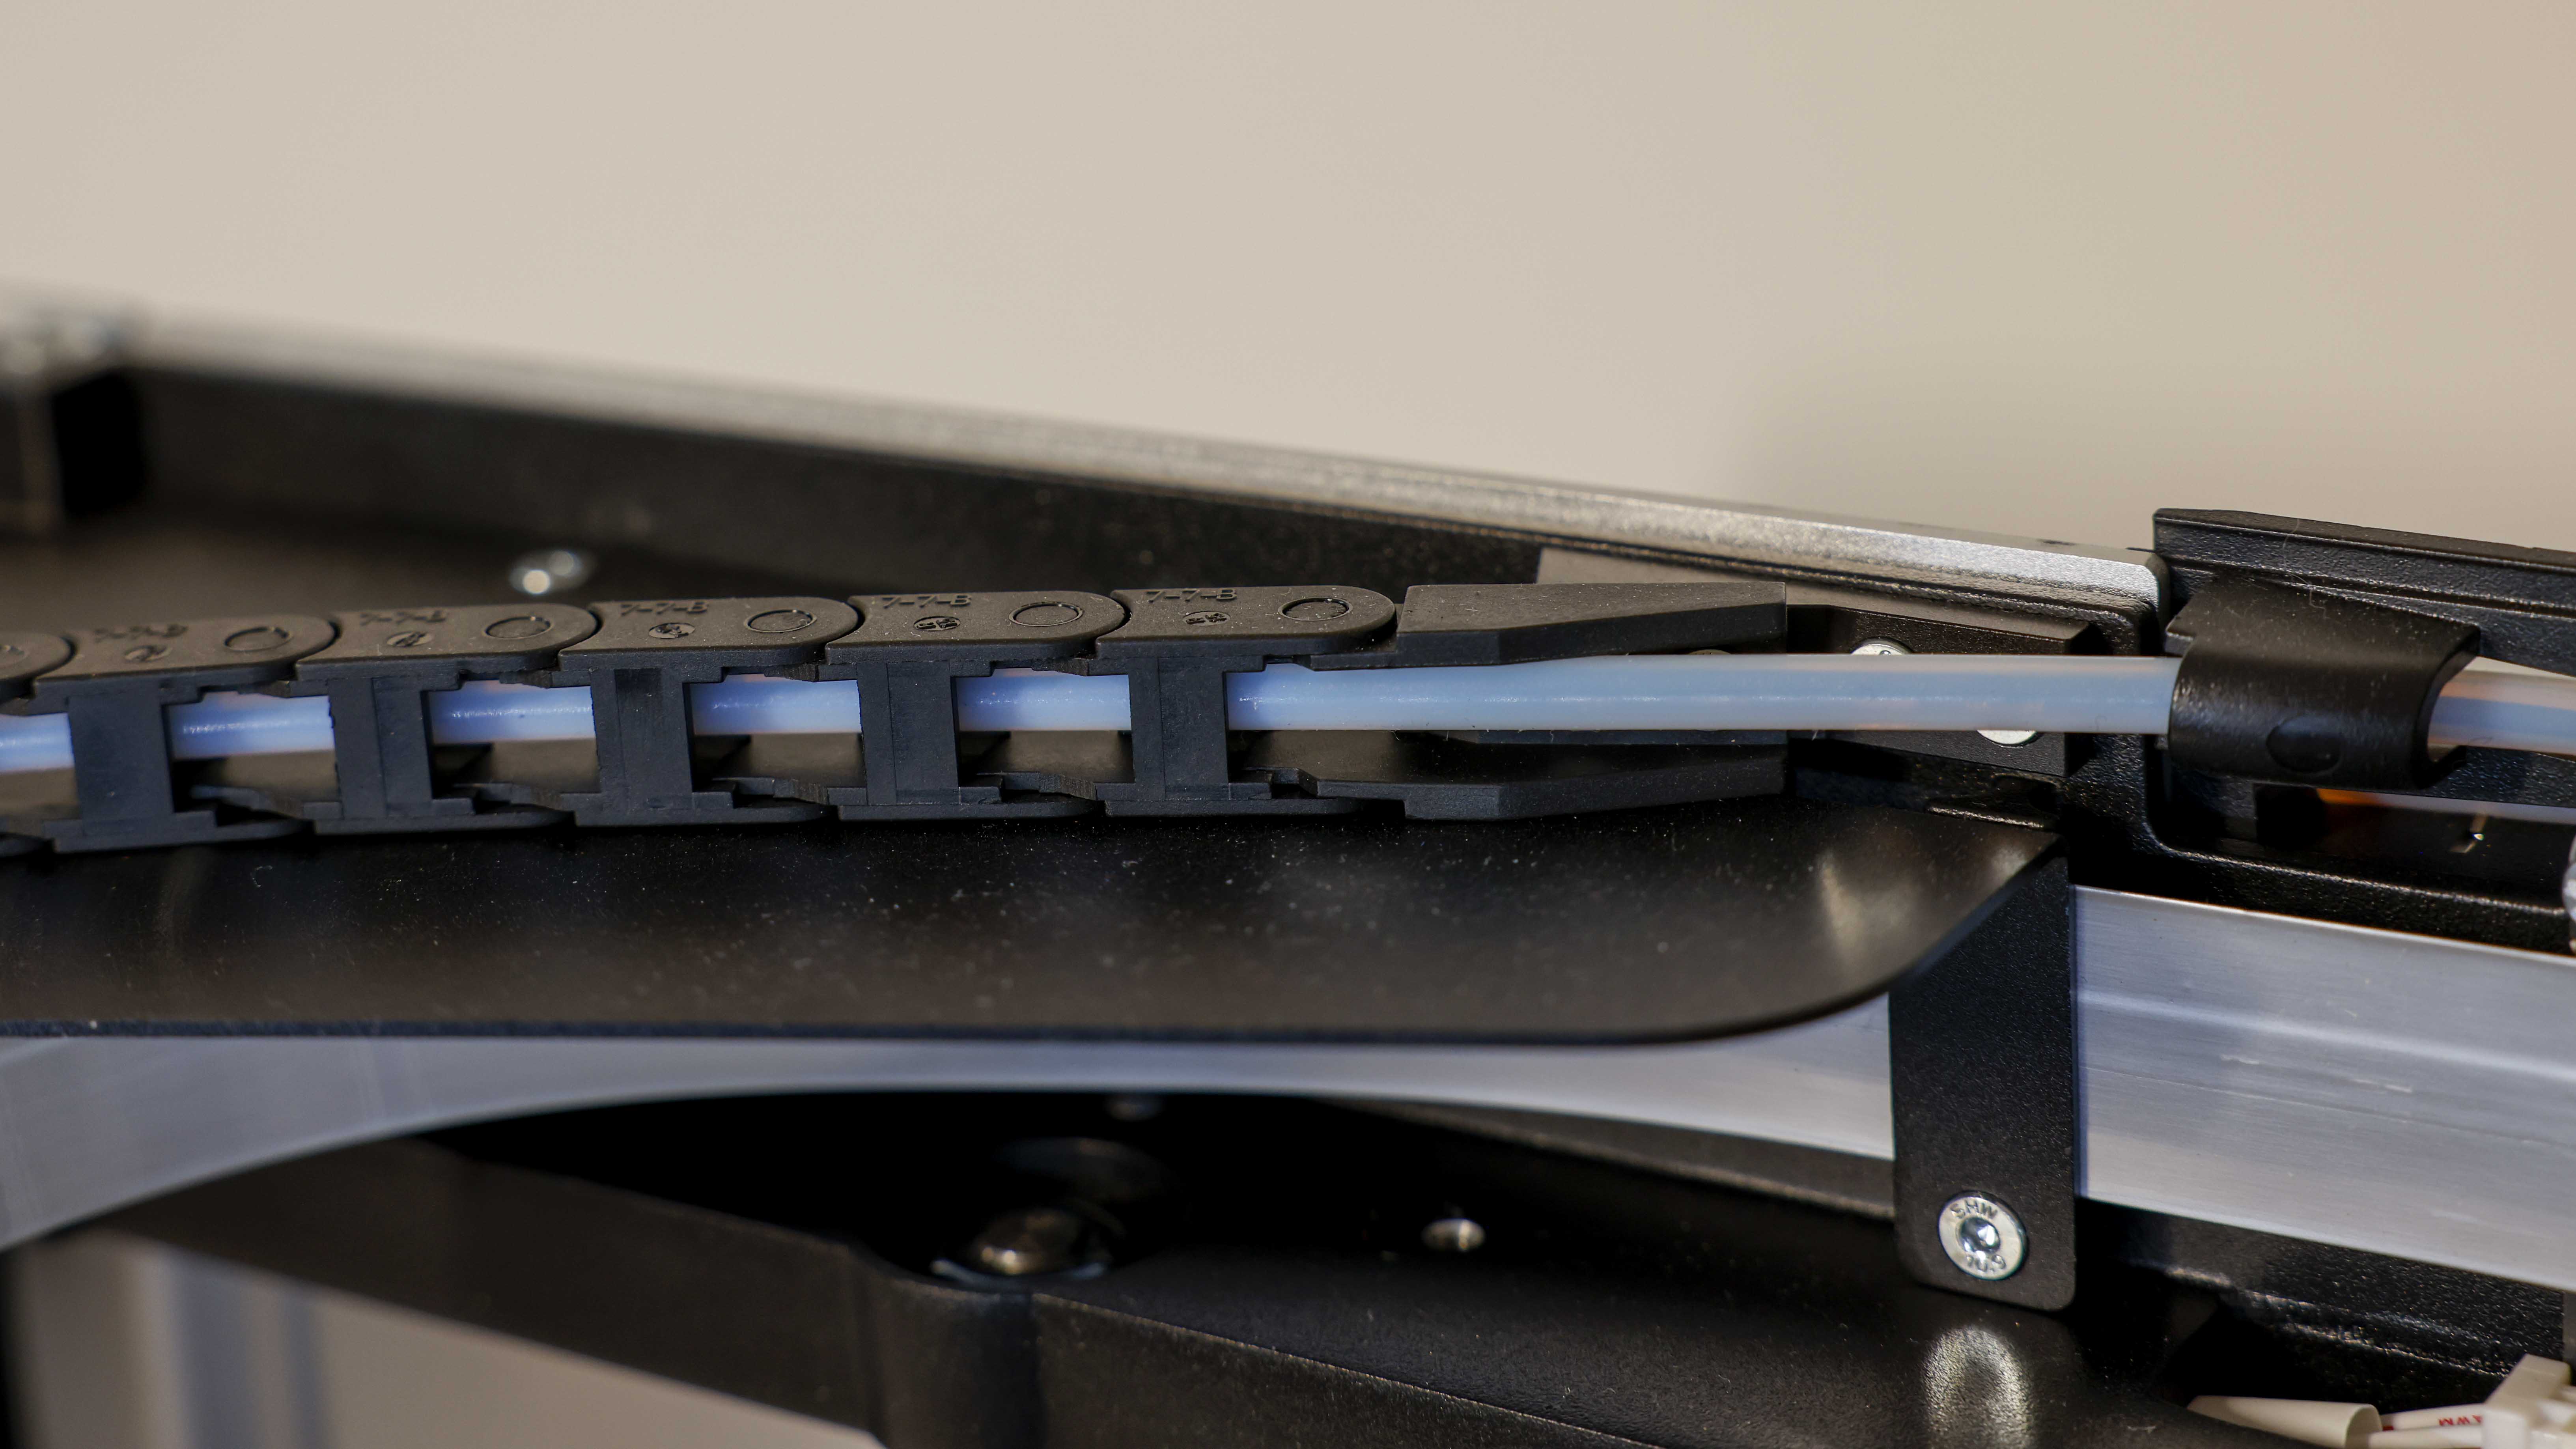
The size and weight of the J1 make it larger than a standard 3D printer, but the features and enclosed design elevate this model to the next level.
Features
The J1 is an IDEX system with many advantages over a standard dual extrusion system from a single tool head. While a single-headed dual extrusion system can print with two materials, one after the other, an IDEX system can print with two different materials simultaneously and one after the other.
This means that both systems will print in the same way when you're printing an object, such as an RC car's wheel with the type attached. The difference comes when you want to print the single material hub. The dual extrusion system will only be able to utilize one nozzle at a time through the print. The IDEX can use both nozzles simultaneously; this enables you to duplicate or mirror the print being created. As a note, this doesn't mean that you can print two different models simultaneously; they need to be identical.
Ultimately the design of an IDEX 3D printer enables you to print more of the same thing faster or mix your materials easily so that you can have one material for the main structure and another for support.
The J1 is part of the new movement of 3D printers challenging the manufacturers who have dominated the market in the last few years, and the J1 packs in some impressive features that set it apart.
Print speeds, while not the fastest on the market, are impressive for an IDEX system with acceleration speeds up to 10,000 mm/s and a standard print speed of up to 350 mm/s. Print speeds are also accelerated with the ability to use support materials. With the independent tool heads, you can print dual materials in Copy and Mirror mode, doubling the print volume over a standard single extrusion printer.
Ensuring a decent range of material compatibility, the machine features a 300ºC hotend, and heated double-sided PEI Glass builds a platform that can reach temperatures of 100ºC. A nice feature of the hotends is that they are easily swappable for other diameter nozzles. Another nozzle feature worth a note is the nozzle wipers. These are just two discs the nozzles wipe against after each run; it's a small addition but makes a huge difference when using a dual-material system.
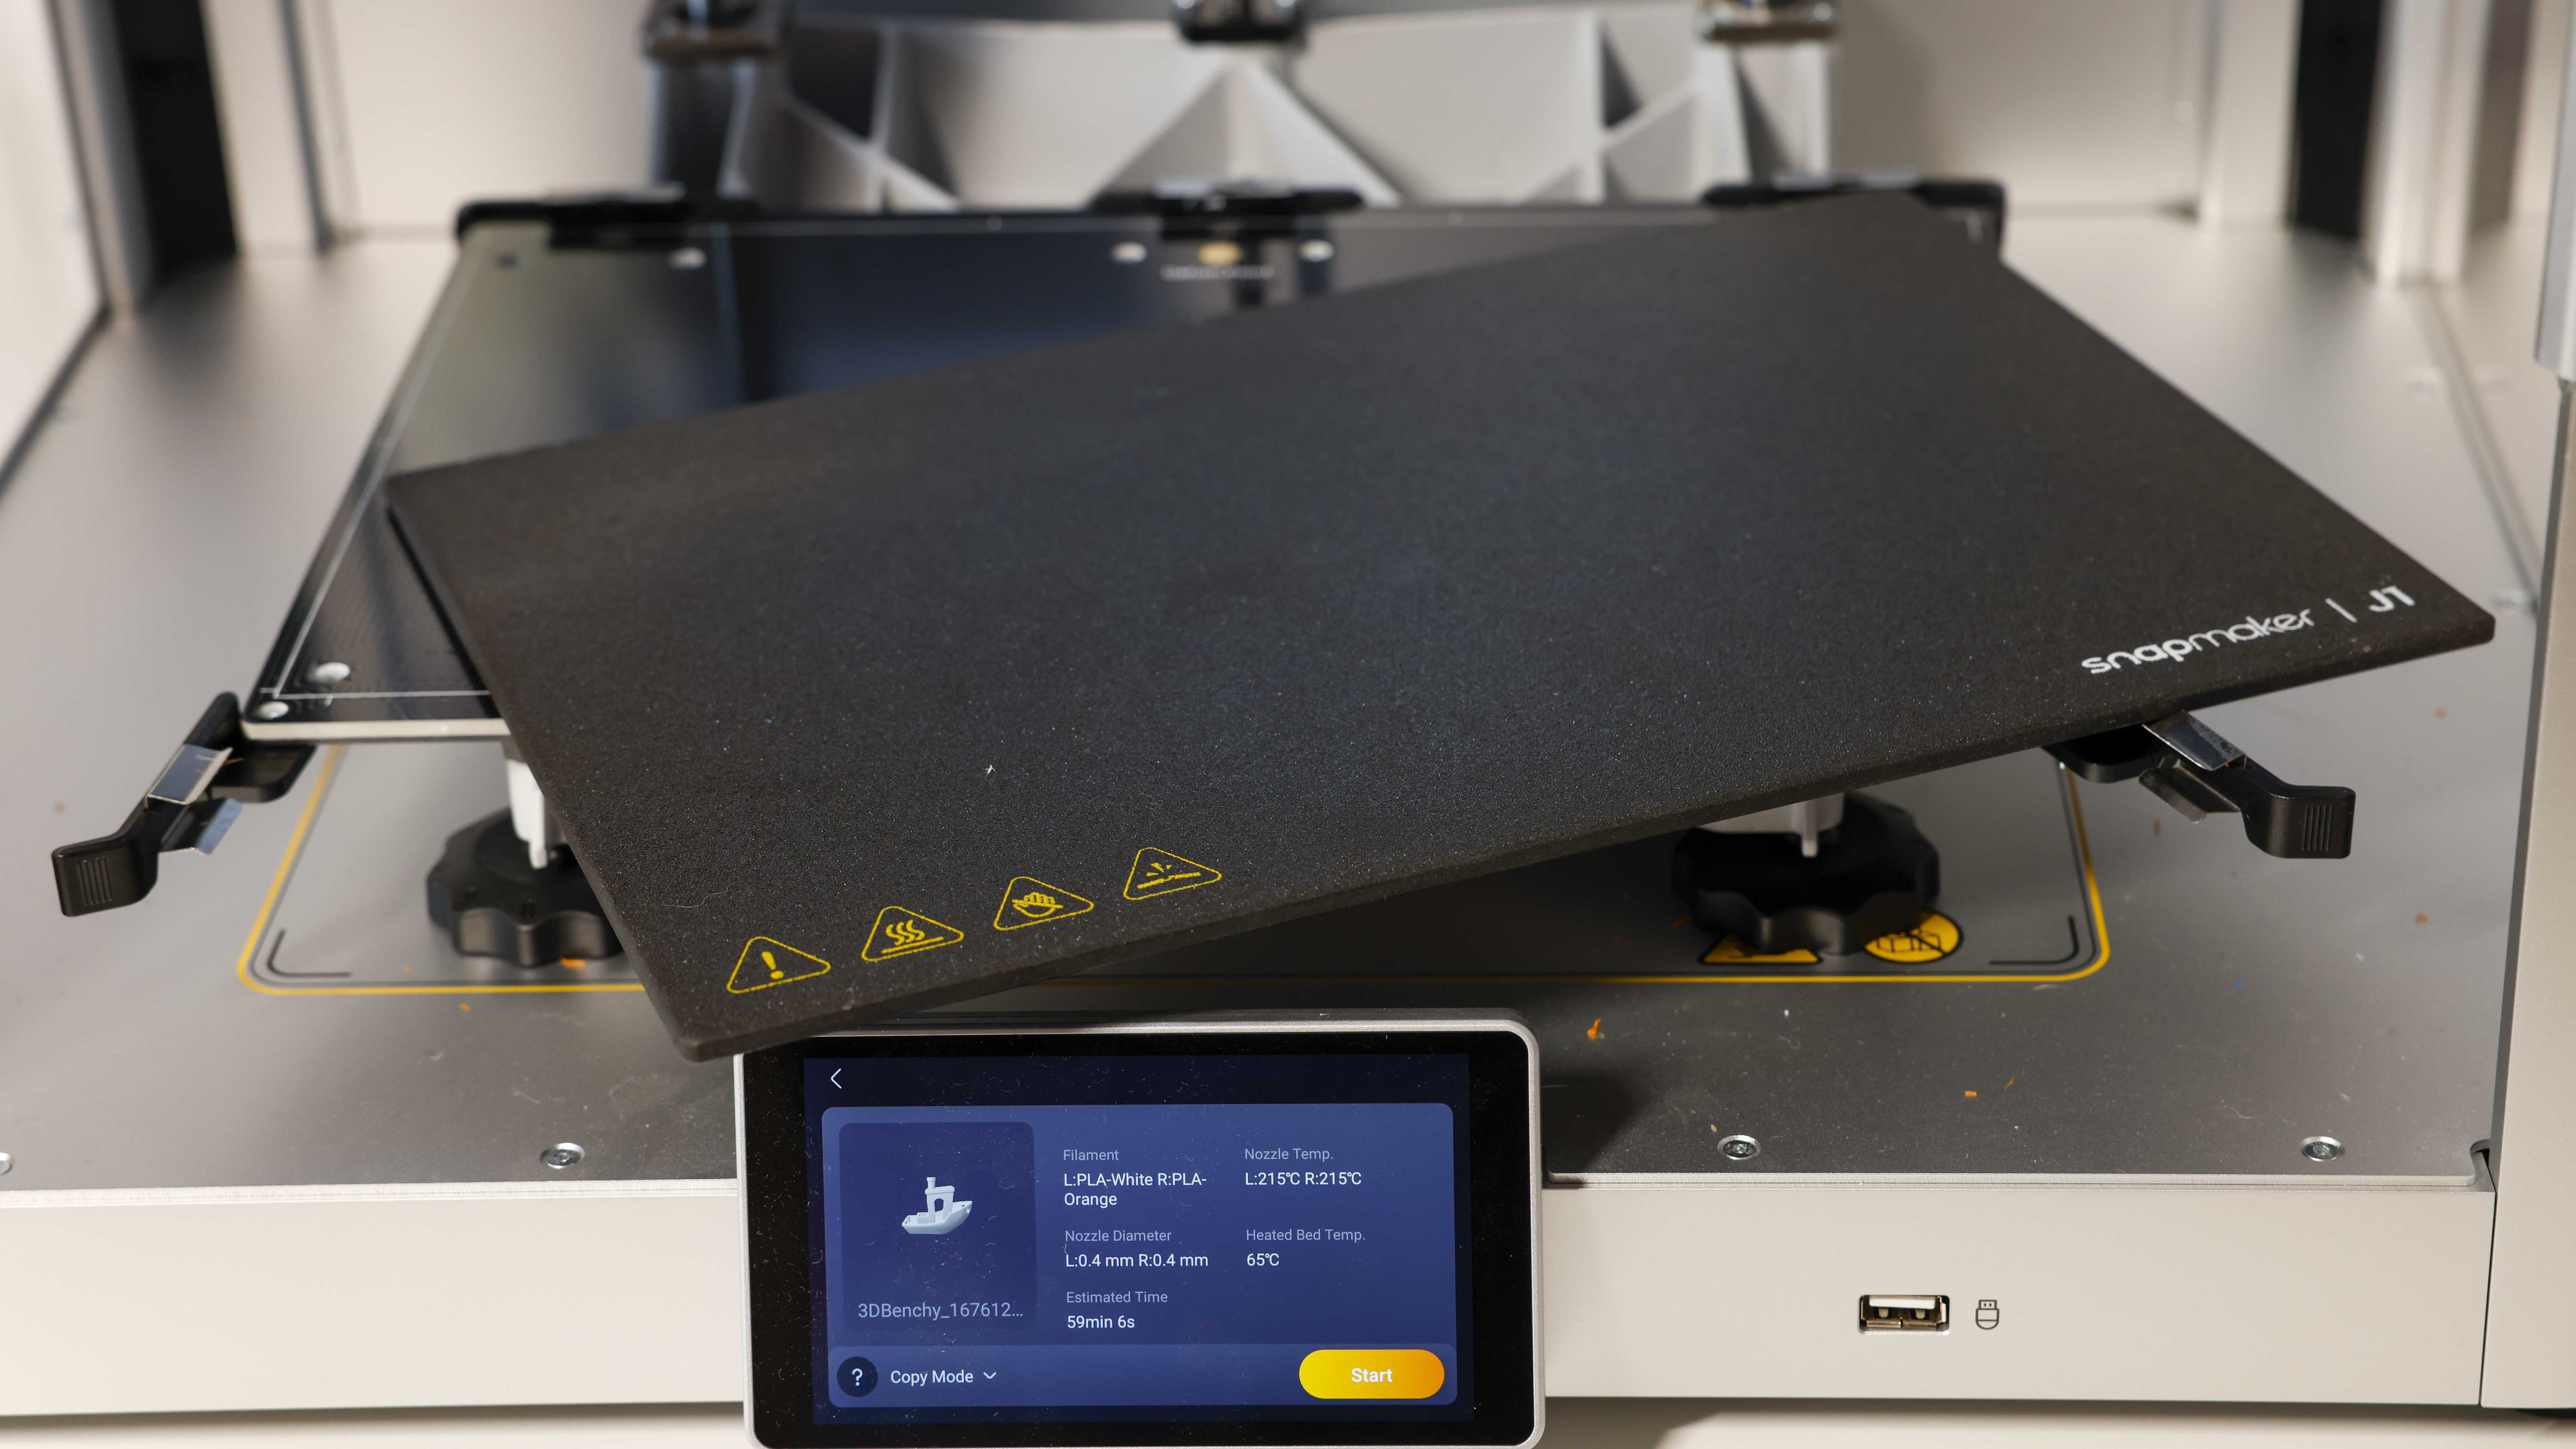
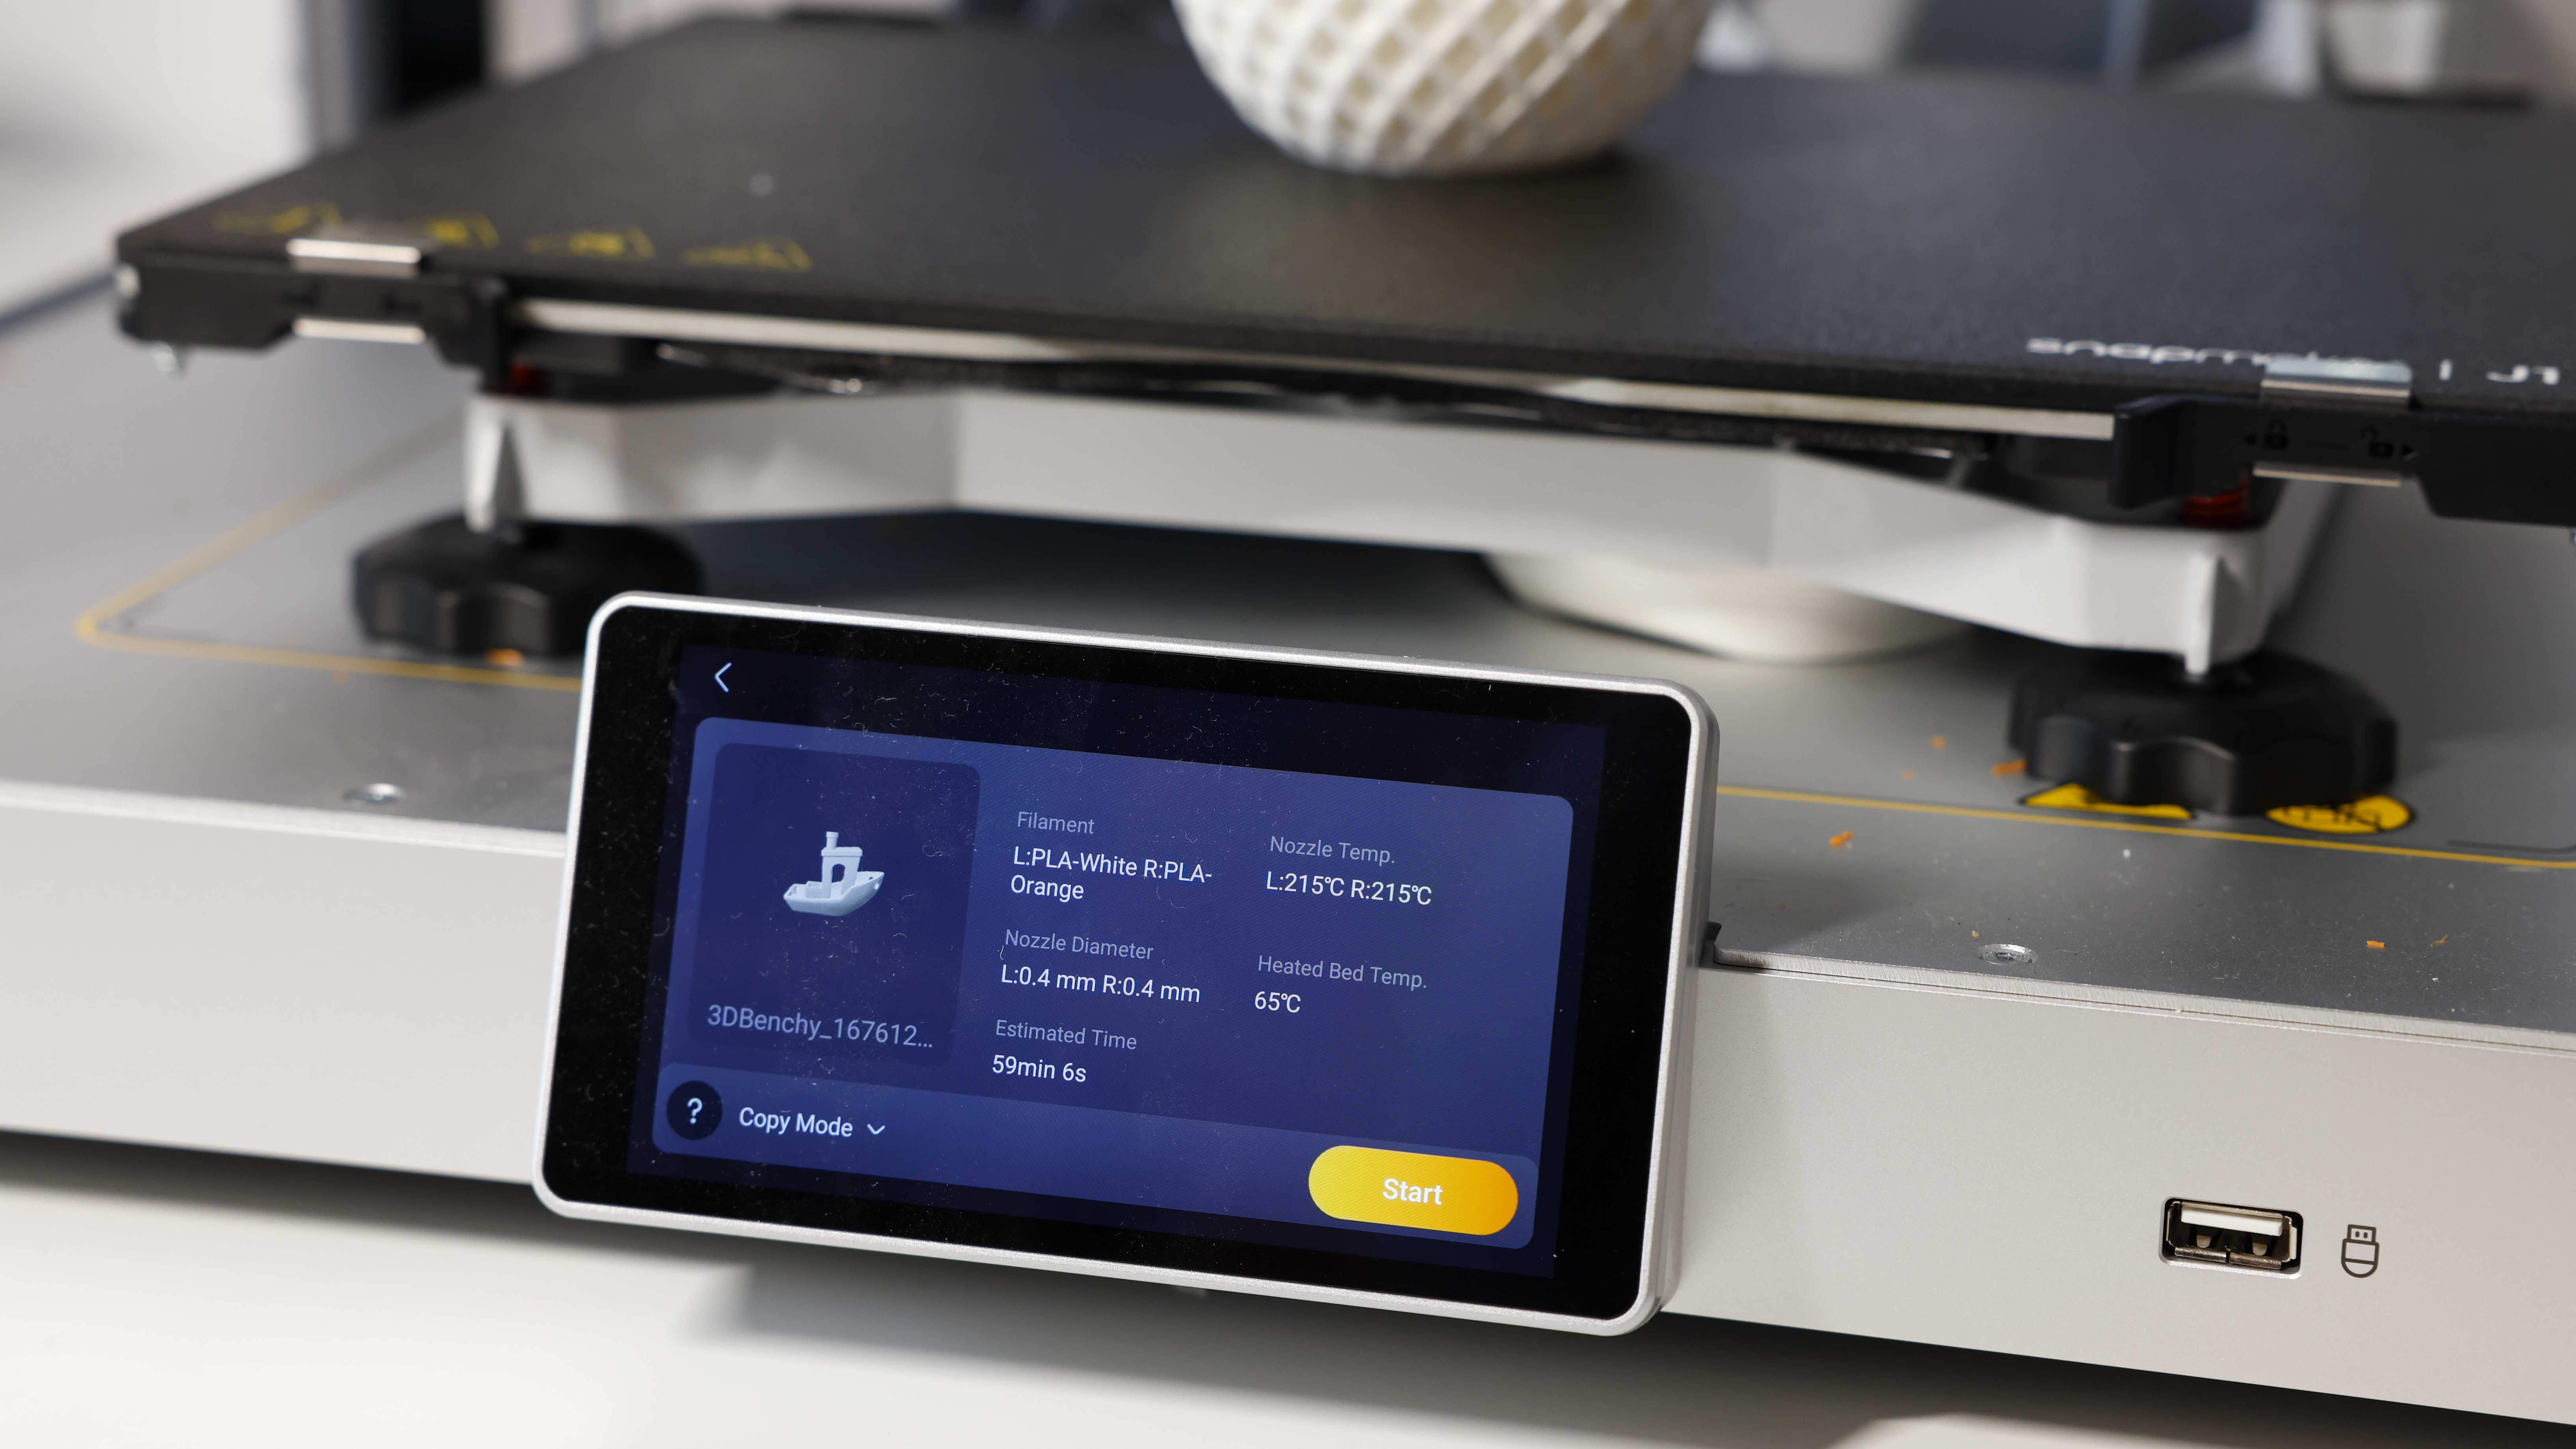
Finally, the primary interaction with the printer is through the 5-inch touchscreen interface. This is highly intuitive and enables you to load models from the printer's memory or SD card or receive prints directly from the Luban software on your computer.
Performance
Once the packaging is set aside and the sides screwed into place, it's simply a case of powering on, connecting to the WiFi network, and running through the calibration options. These options are laid out on the large touch screen and are simple enough to follow with the ability to dip into each calibration type, from Bed Leveling to the Z-axis through a touch of the screen. What's nice is that the instructions are easy to follow, and although running through each of the calibration options does take a good ten minutes, once done, you'll only need to dip back in when things start to look a little amiss with print quality.
With the calibration done and filaments fed into the machine, you're ready to go; to give you an idea, the whole process from the box to having the machine ready to go takes around 15 minutes.
Staring out with printing, there are a couple of models pre-loaded onto the J1 that you can start to print with. These rattled out without any issue showing that the speed and accuracy of the two heads worked perfectly. The first print was an articulated shark printed accurately with two different materials. Each material printed a separate part rather than blending the two colors, and the results were excellent.
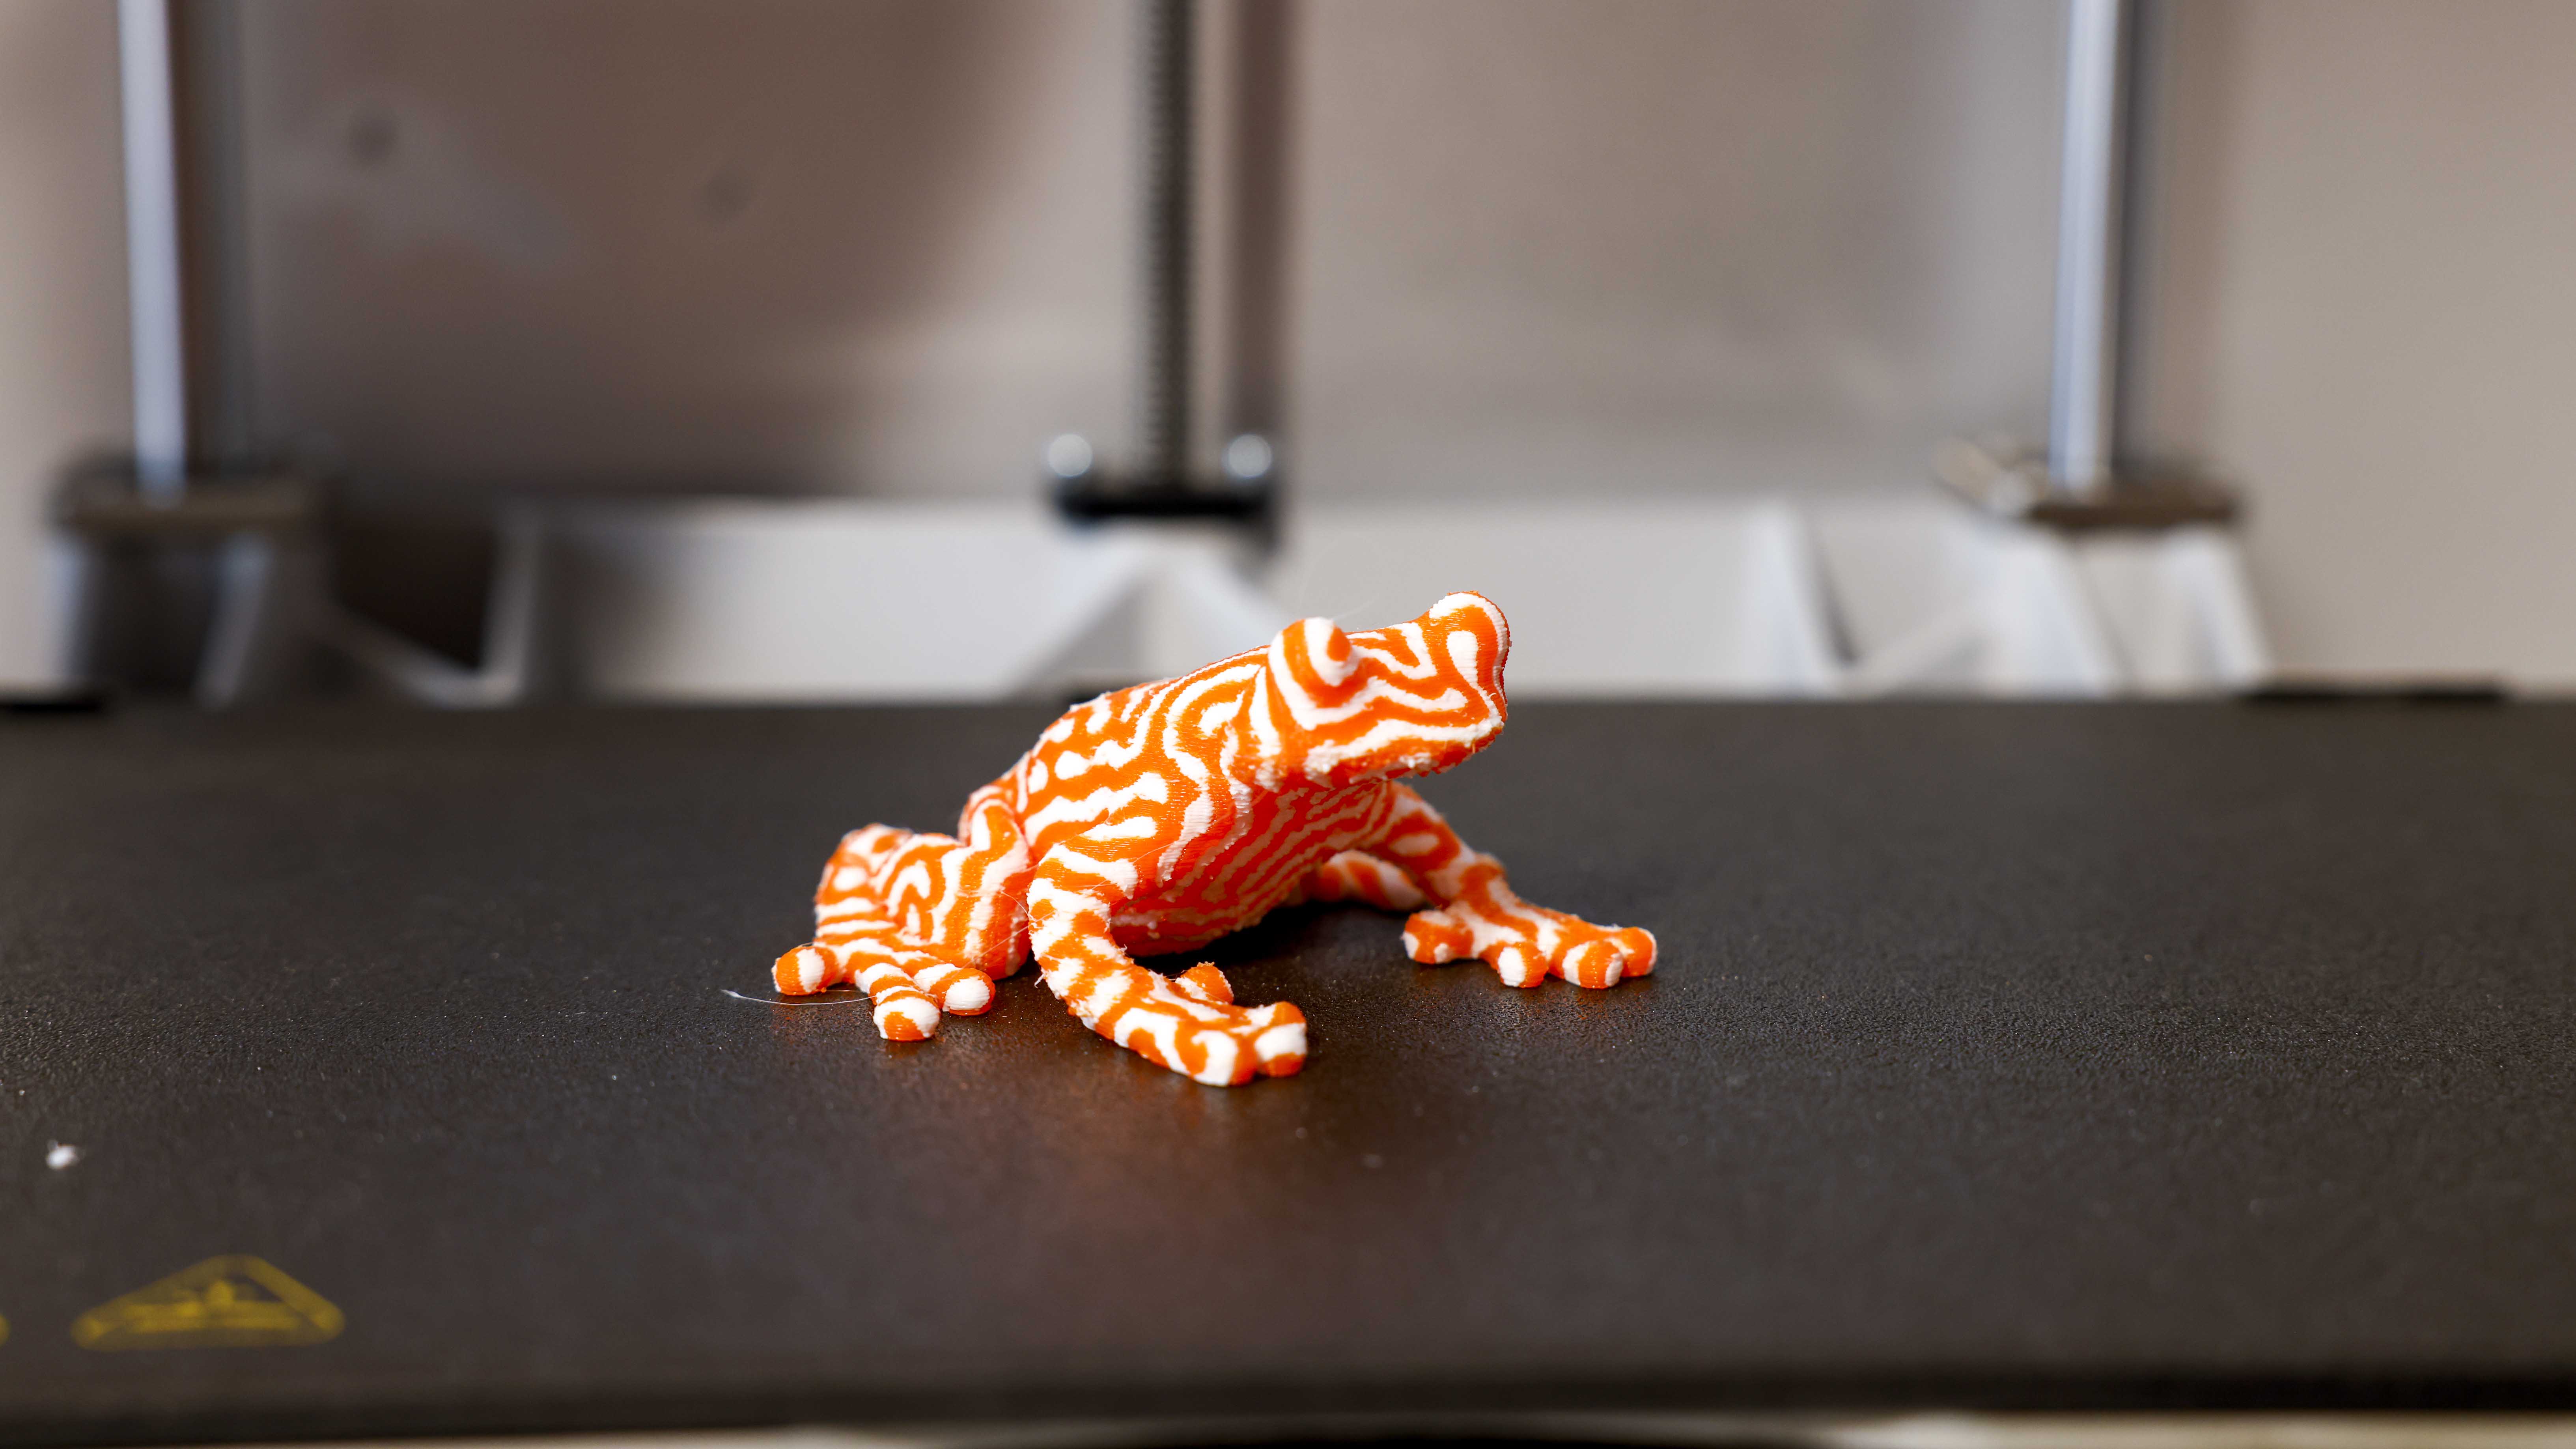
The next step was to try layering the two materials with the tree frog model. In Luban, the Alighn tool is fast to accurately position the two separate parts of the model into one, and then it's a case of selecting each object and assigning it a nozzle, left or right. The process through Luban is straightforward, with the print being sent to the machine directly from the software to start the print process.
The result of the treefrog was good, but the model did need some finishing, with the model printed using normal mode, leaving a slightly rough surface finish. However, with some post-print attention, this model cleaned up exceptionally well. However, as with other machines, the dual extrusion comes into its own when printed with support materials. Here, the machine's ease of use and ability to quickly assign support structures through the software makes this one of the more accessible systems I have used.
All this is standard duel extrusion 3D print territory; however, the J1 stands out because it is an IDEX machine, essentially having two usable tool heads that will enable you to boost the print speeds of multiple objects.
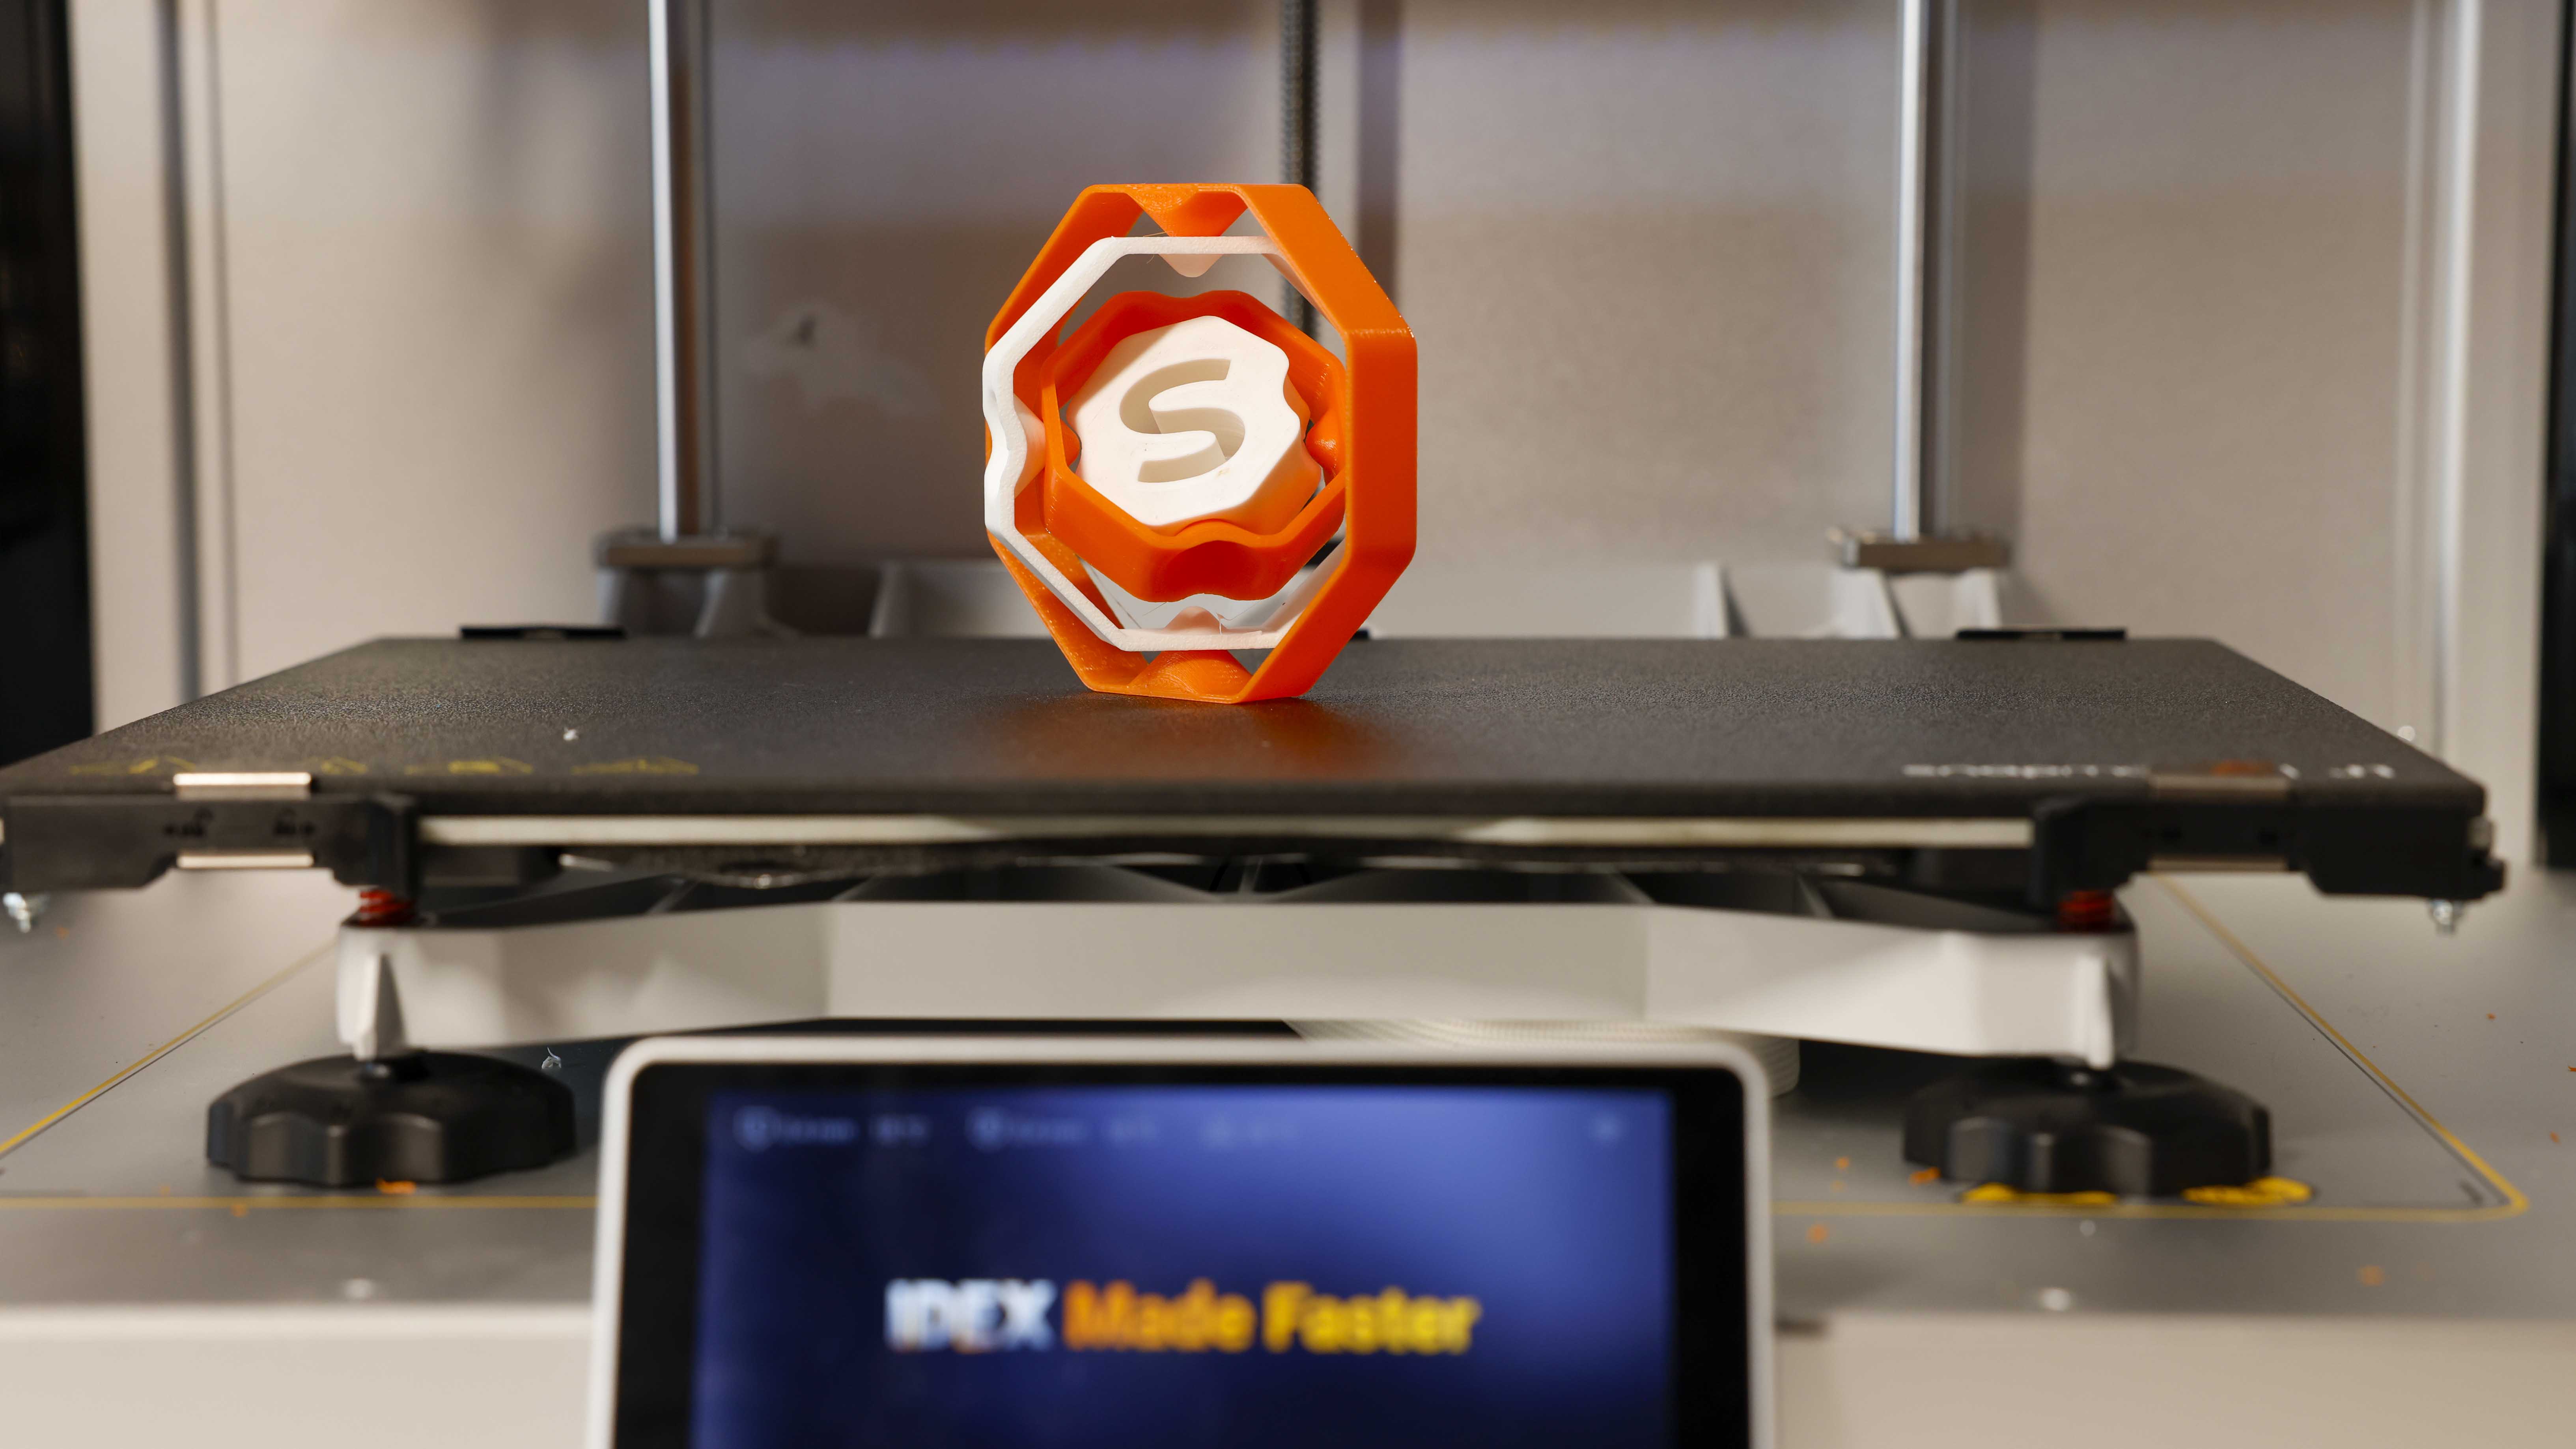
When printing in normal mode, you can print two models simultaneously, but the tool heads have to go in one after the other; while using the IDEX feature, both heads work simultaneously, doubling the speed you can produce models. One point to note is that this dual printing is always a duplicate or mirror of the same model, not two different model designs.
Using the copy and mirror print functions works exceptionally well; it enables you to print the same objects far more quickly. This is great if you're running a small production line and need to kick out parts as soon as possible, effectively two pieces in the time of one on a conventional printer.
Through the print process, I noted the following important factors; while having the correct bed level is always important, it seems more so with an IDEX machine. The quality of the auto bed leveling is excellent, but on a few occasions, I did lose prints due to a minor leveling issue.
The other point is that this printer is fast - not CORE XY fast, but still considerably quicker than a base-level printer. For that reason, you must run the vibration calibration option. Running this option before you use the machine and ensuring the device is placed on a solid and firm table top will also help minimize any effects of vibration as the motors and gears power through your print. I found that any model with a small footprint either needed to have a brim or other adhesion type added or for the speed of the machine to be slowed down by a third.
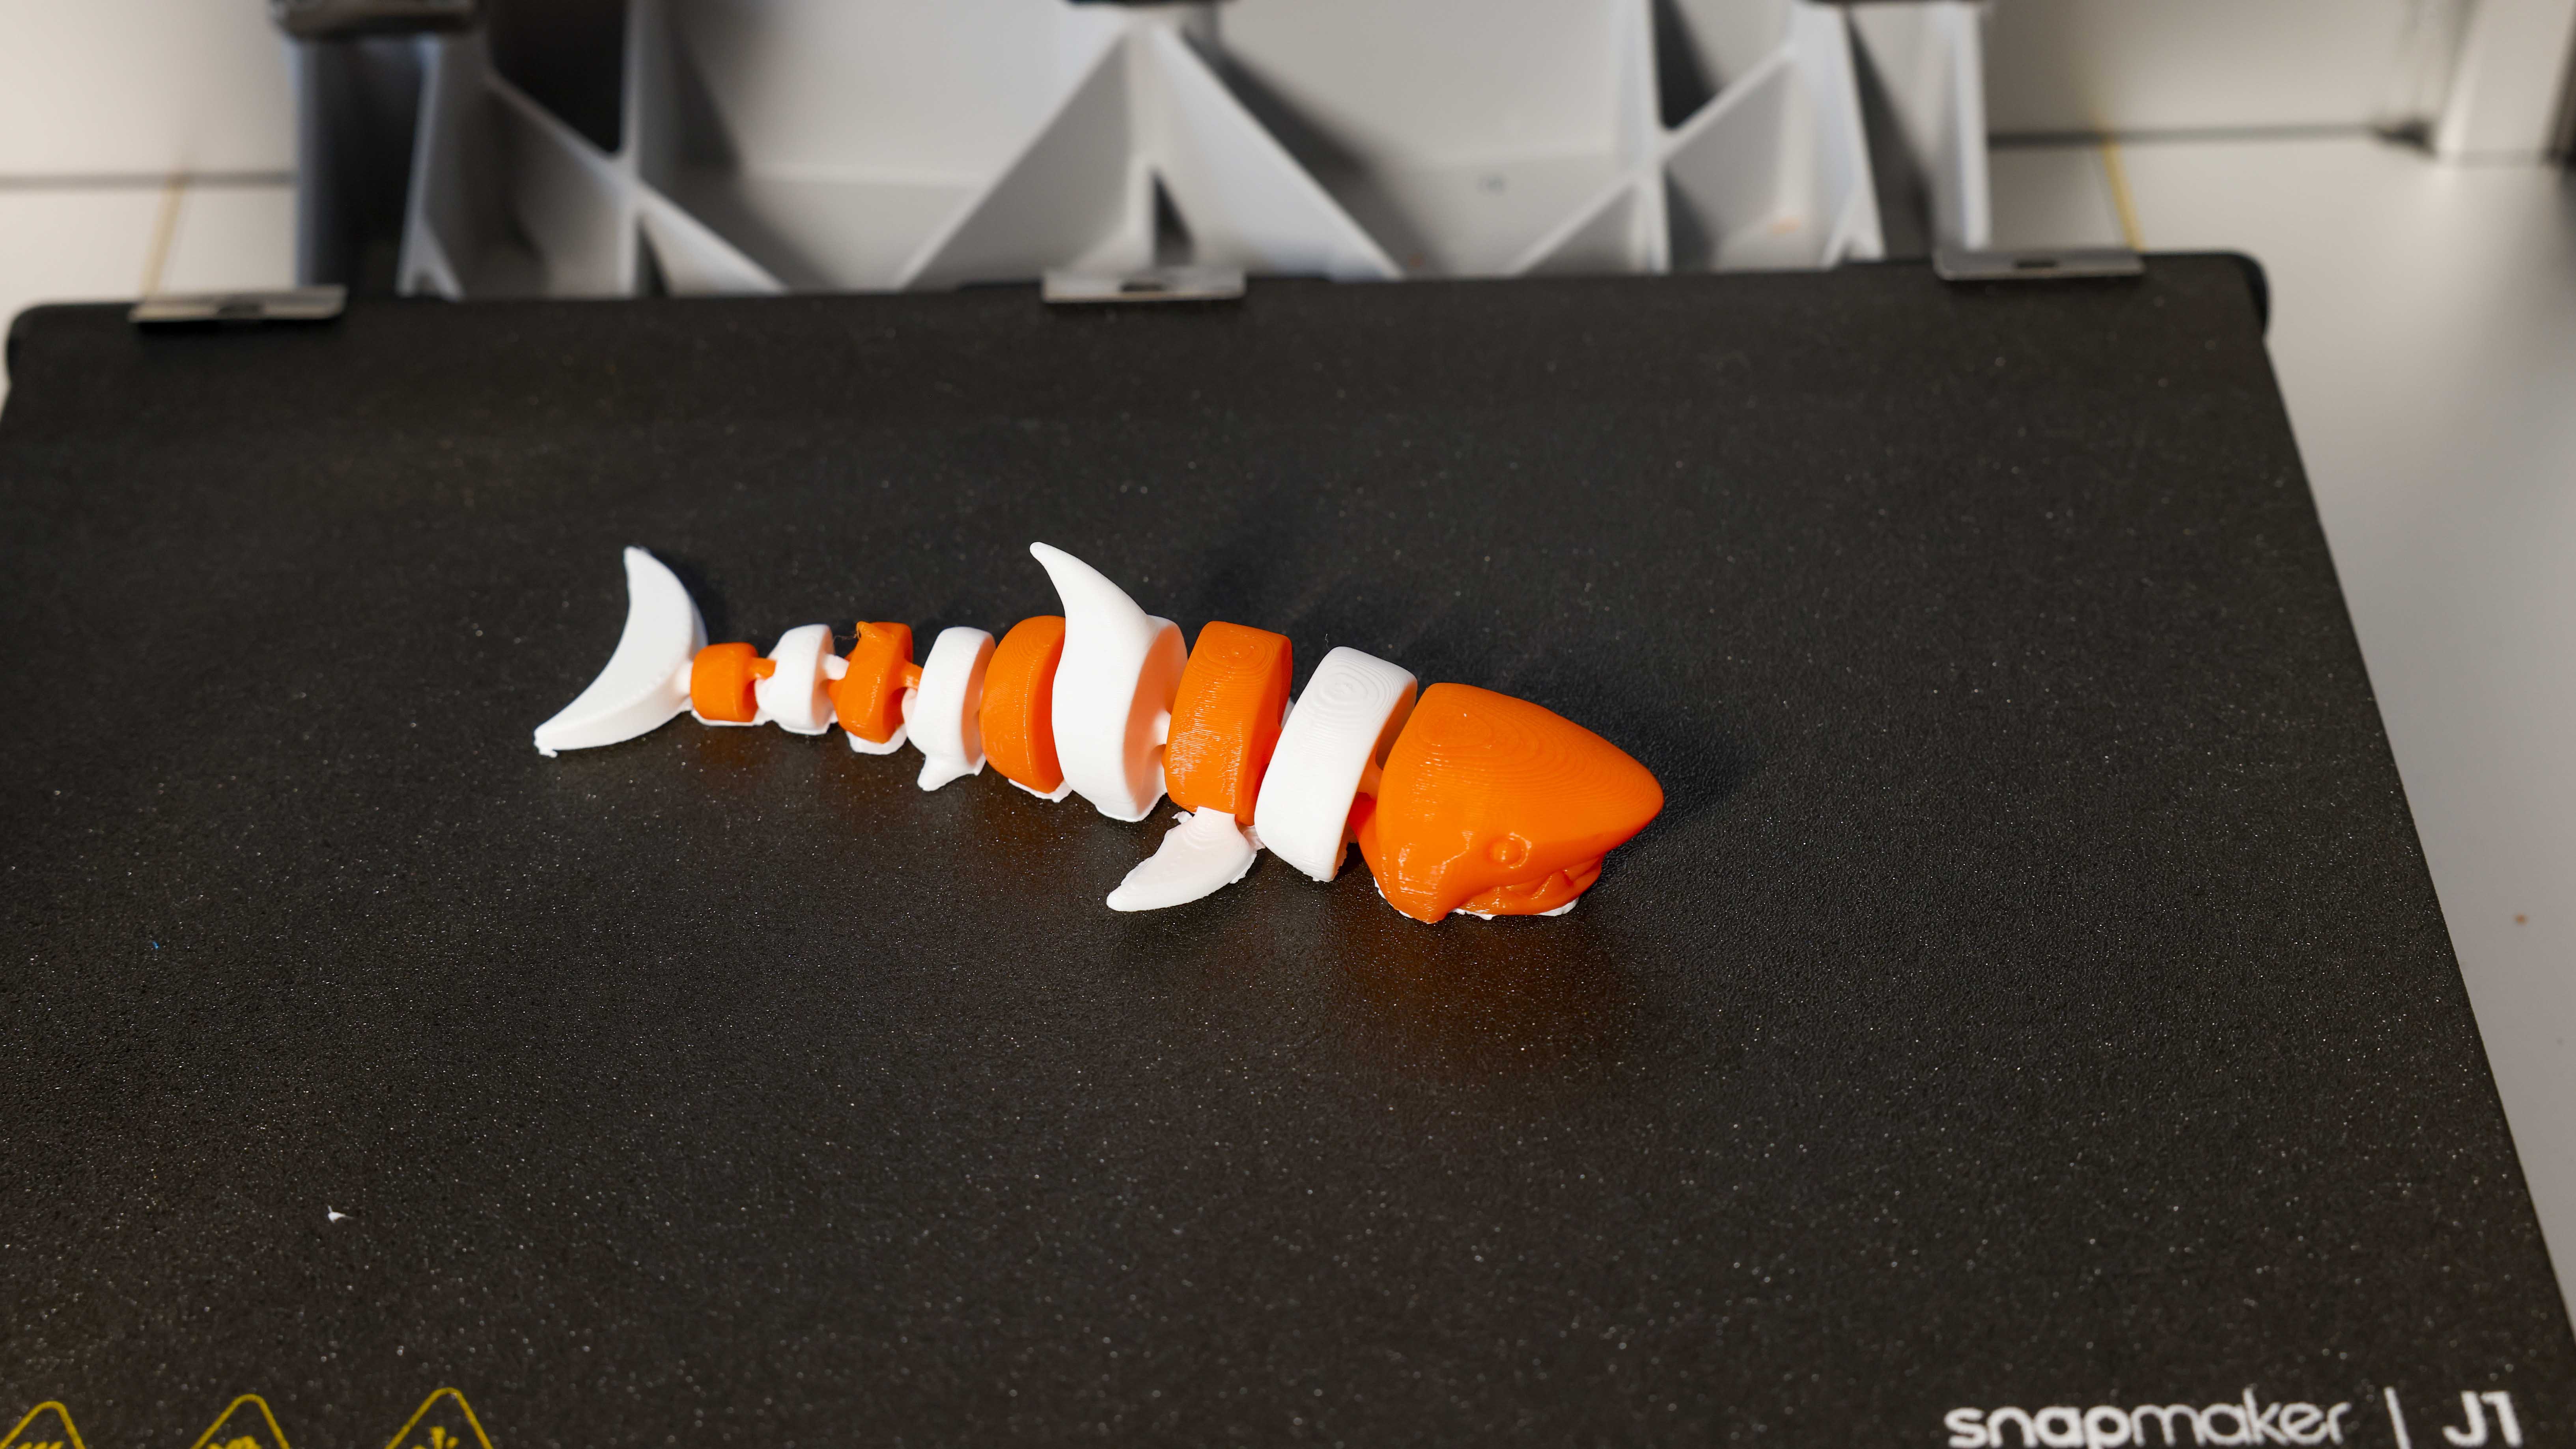
Overall, however, the machine performed incredibly well. Aside from the standout IDEX feature as a 3D printer, the J1 puts in an excellent performance; easy to use, has great prints, easy-to-use software, and plenty of options that will please keen enthusiasts, model makers, and anyone needing machine for small production lines. Of all 3D printers around at the time of writing, the J1 has put in one of the most reliable and valuable performances, with few prints going wrong and an ease of use that you don't usually see at this price level.
Print quality
Dimensional accuracy - score of 5
Target 25 = X: 24.93mm / 0.07mm Error | Y: 24.97mm / 0.03mm Error
Target 20 = X: 20.01mm / 0.01mm Error | Y: 19.97mm / 0.03mm Error
Target 15 = X: 15.02mm / 0.02mm Error | Y: 15.07mm / 0.07mm Error
Target 10 = X: 10.03mm / 0.03mm Error | Y: 10.05mm / 0.05mm Error
Target 5 = X: 5.06mm / 0.06mm Error | Y: 5mm / 0mm Error
X Error Average = 0.038
Y Error Average = 0.036
X&Y Error Average = 0.037
Fine Flow Control - score of 5
Fine Negative Features - score of 3
Overhangs - score of 2
Bridging - score of 5
XY resonance - score of 2.5
Z-axis alignment - score of 2.5
Adding up the totals gives a final score 25 out of 30.
After running through several prints, there is a noticeable print speed difference between the Kobra and Kobra Go, and the significant difference in the prints is the accuracy. The Kobra is much tighter on dimensional accuracy compared with the Go.
Visually, however, the prints from both printers are excellent.
After running through the usual 3D Benchy and a few personal models, it was time to run through the Autodesk Kickstarter test model with the following results.
Verdict
The Snapmaker J1 is part of a new movement of 3D printers that rationalizes the technology with machines that are solidly built and enable modelers, jewelry designers, product designers, as well as 3D print enthusiasts to get on with the job in hand without having to delve into the mechanics of the machine.
The J1 is a workshop tool; there's no tinkering needed, nothing to add. It's a proficient 3D printer that does exactly what it's supposed to do. However, what makes it stand out is the pure reliability of the machine, and the way through the Luban software, you can very easily adjust the settings to match your exact needs.
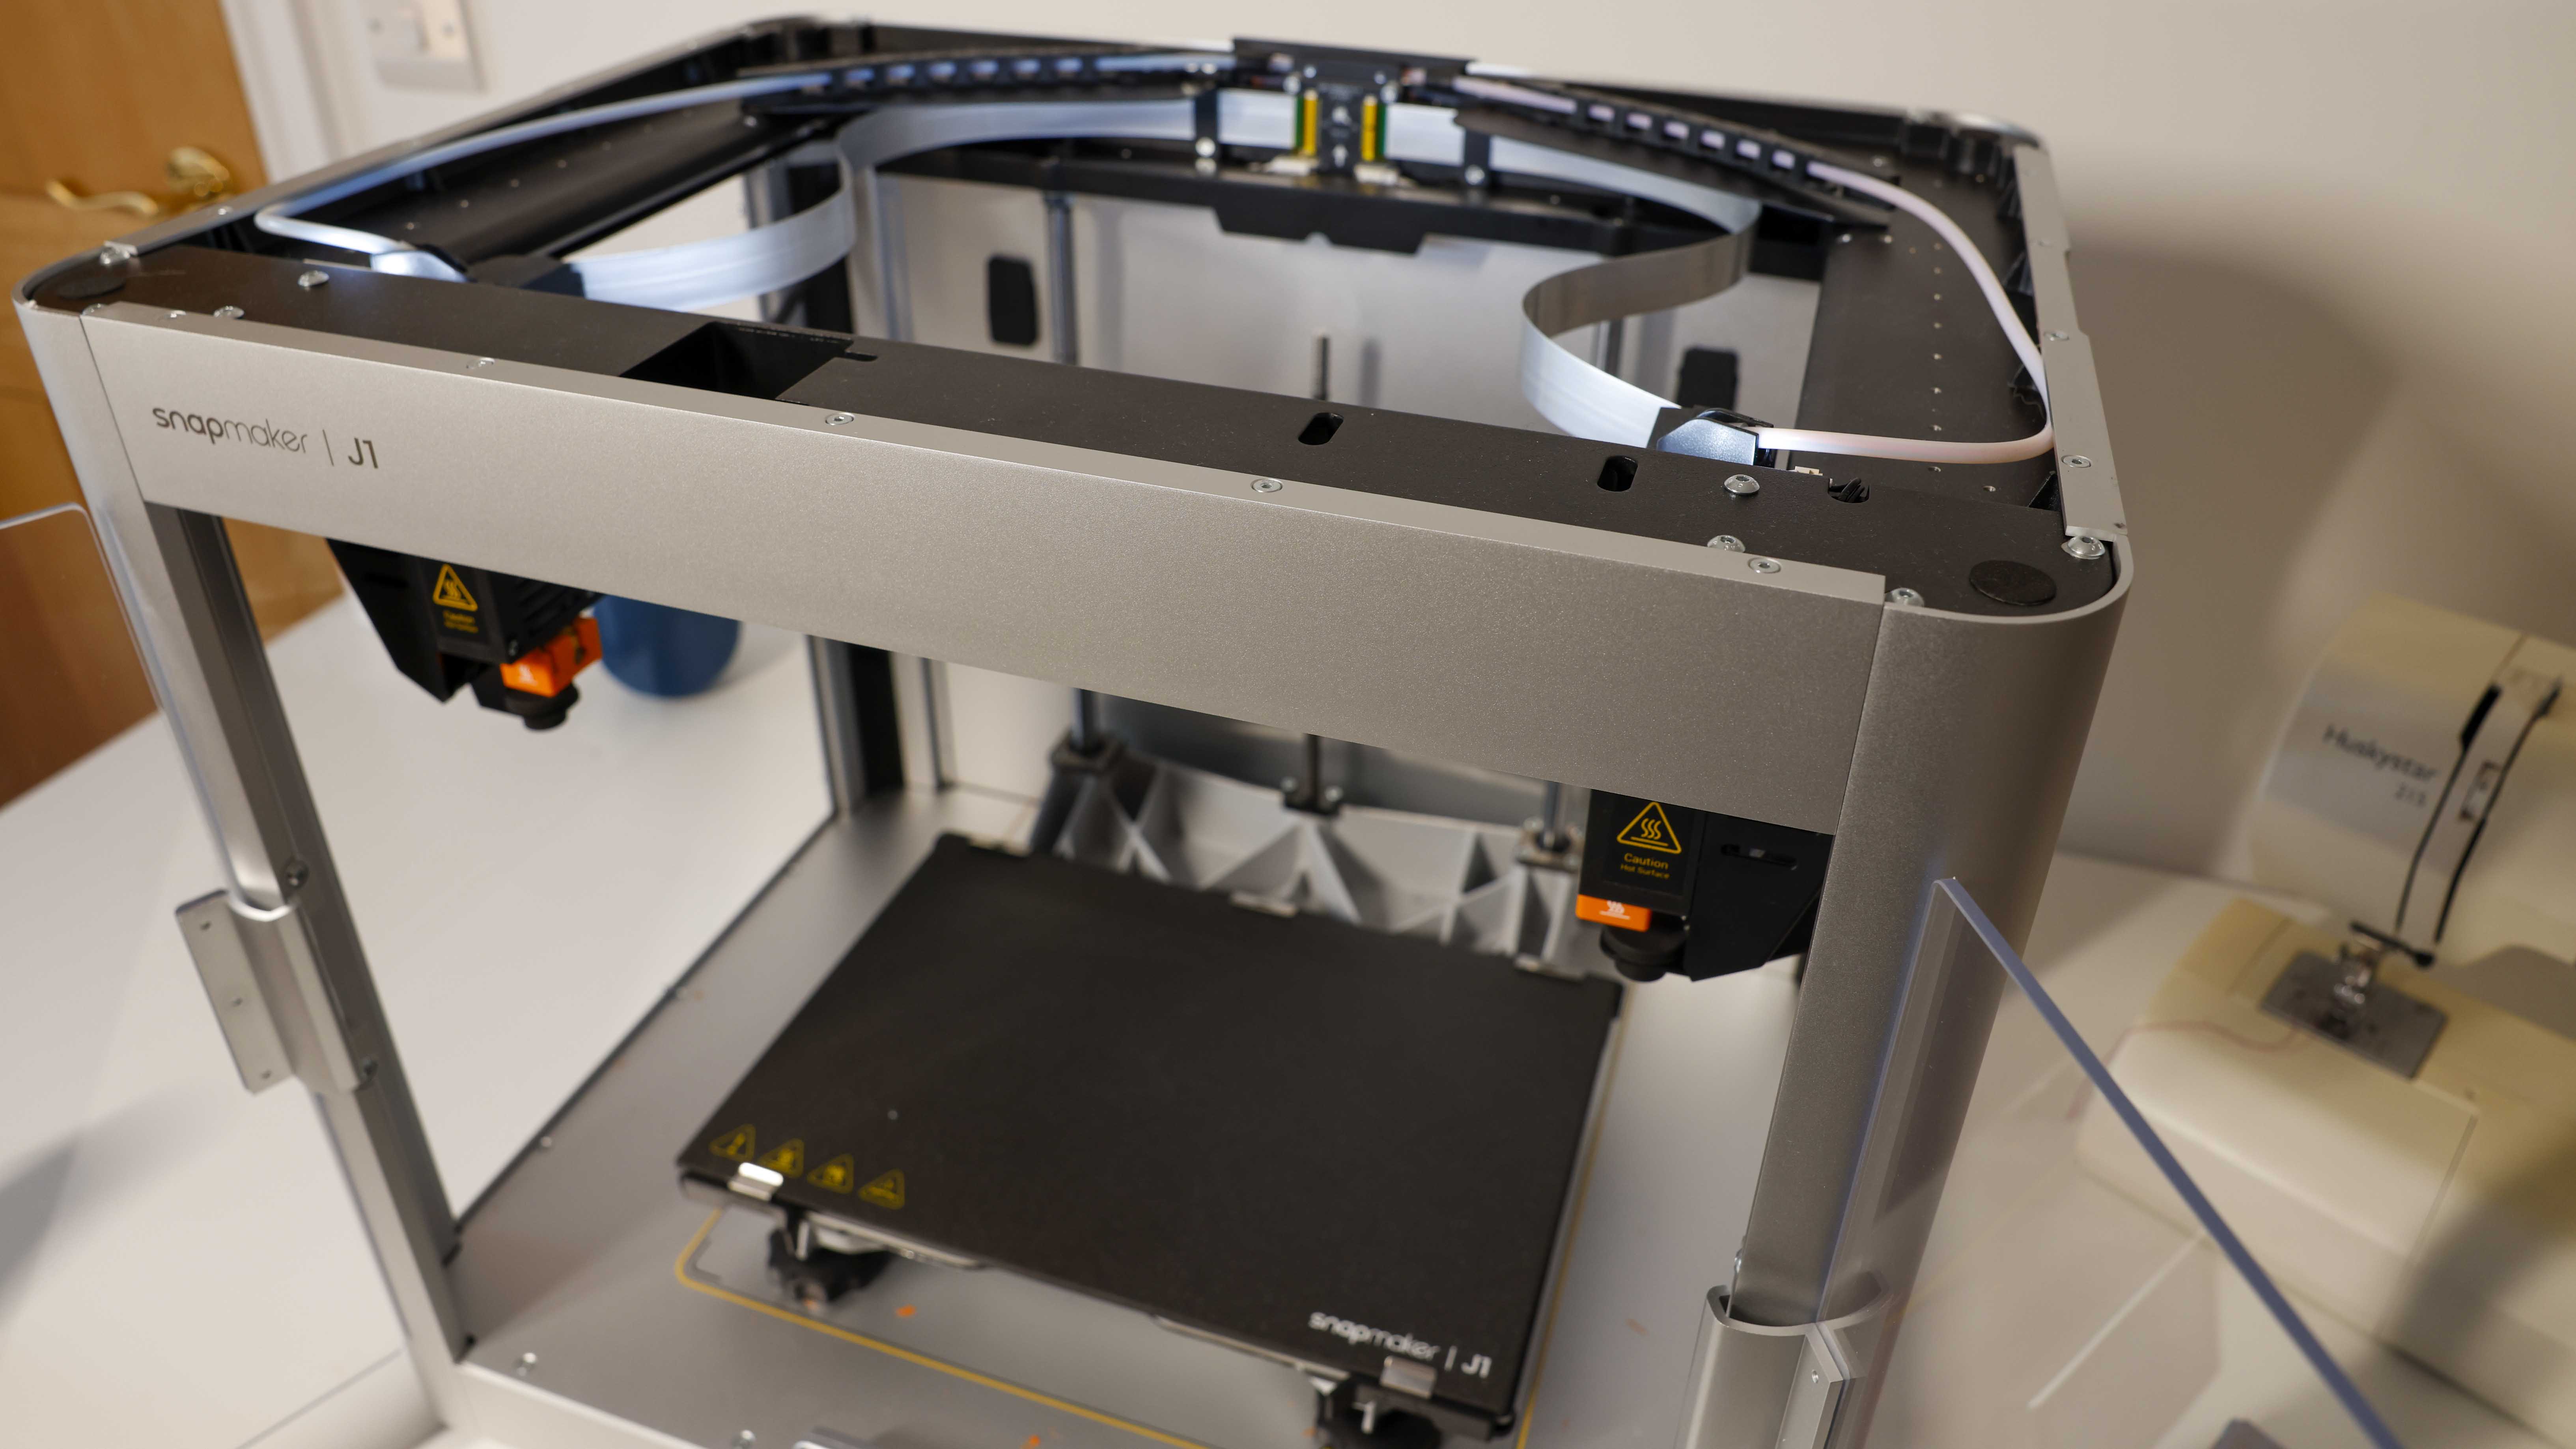
Out of the box, there's a fast, regular, and smooth preset for the prints. Each does exactly what you expect, fast increases the layer height, and pumps out a print at a decent speed; ordinary suits most use and smoothly takes longer to print but leaves models with a much finer surface. The dimensional accuracy also steps up, making it ideal for prototyping.
At the end of the review, only a few minor issues arose throughout the month of testing. Once in a while, the prints from Luban wouldn't automatically start, and I'd need to create them manually on the machine. Some prints with a smaller footprint would need a brim. Otherwise, they would come unstuck. When it comes to machine design, it's undoubtedly one of the best looking 3D printers out there; my only issue is the top only has an option to entirely remove when printing PLA, etc., one of the first projects I'll do with the machine is to make it a lid hinge!
In the grand scheme of things, however, the Snapmaker J1 is an IDEX and is incredibly cheap at a price. It's reliable, fast, and will produce excellent quality prints, and the machine looks great. If you're looking for a dual-material machine, there are cheaper options, but at this quality and ease of use, it's the best in class.
- Looking for a great workspace for your 3D Printer? Check out our best standing desks
from TechRadar - All the latest technology news https://ift.tt/vqiDFXm

No comments:
Post a Comment